

Fixing elbow pain with 3D printing
A while ago I got hit with tennis arm — and I don’t even play tennis. It was quite severe, and for over a year my right elbow hurt when moving it in certain ways. While trying to find the cause(s) of the issue it became clear that working from the sofa with my laptop, well, on my lap, was not ideal in many ways. One of those being the position of my arms and hands on that narrow, flat keyboard and track pad.
It turned out that having your hands on a flat surface, i.e. rotated 90° inwards for most of the day is not an ideal position. This causes tension on a bunch of tendons that go from the hand to the — drumroll — elbow. And that constant over-tension then leads to inflammation where the tendons attach to the muscles. And ouch.
The same goes for the hands being parallel to each other, bending the wrists and forcing the rest of your arms into an unnatural position. Here are some pictures.
So, I stopped working from the sofa and got myself a proper screen, (looking down at a laptop screen is also bad for you), a vertical mouse (no more inward rotation) and I started looking into ergonomic keyboards. And this is where it got complicated.
There are a million different kinds of more or less ergonomic keyboards out there. And an equal number of keyfluencers on YouTube telling you that the one sponsoring their video happens to be the best.
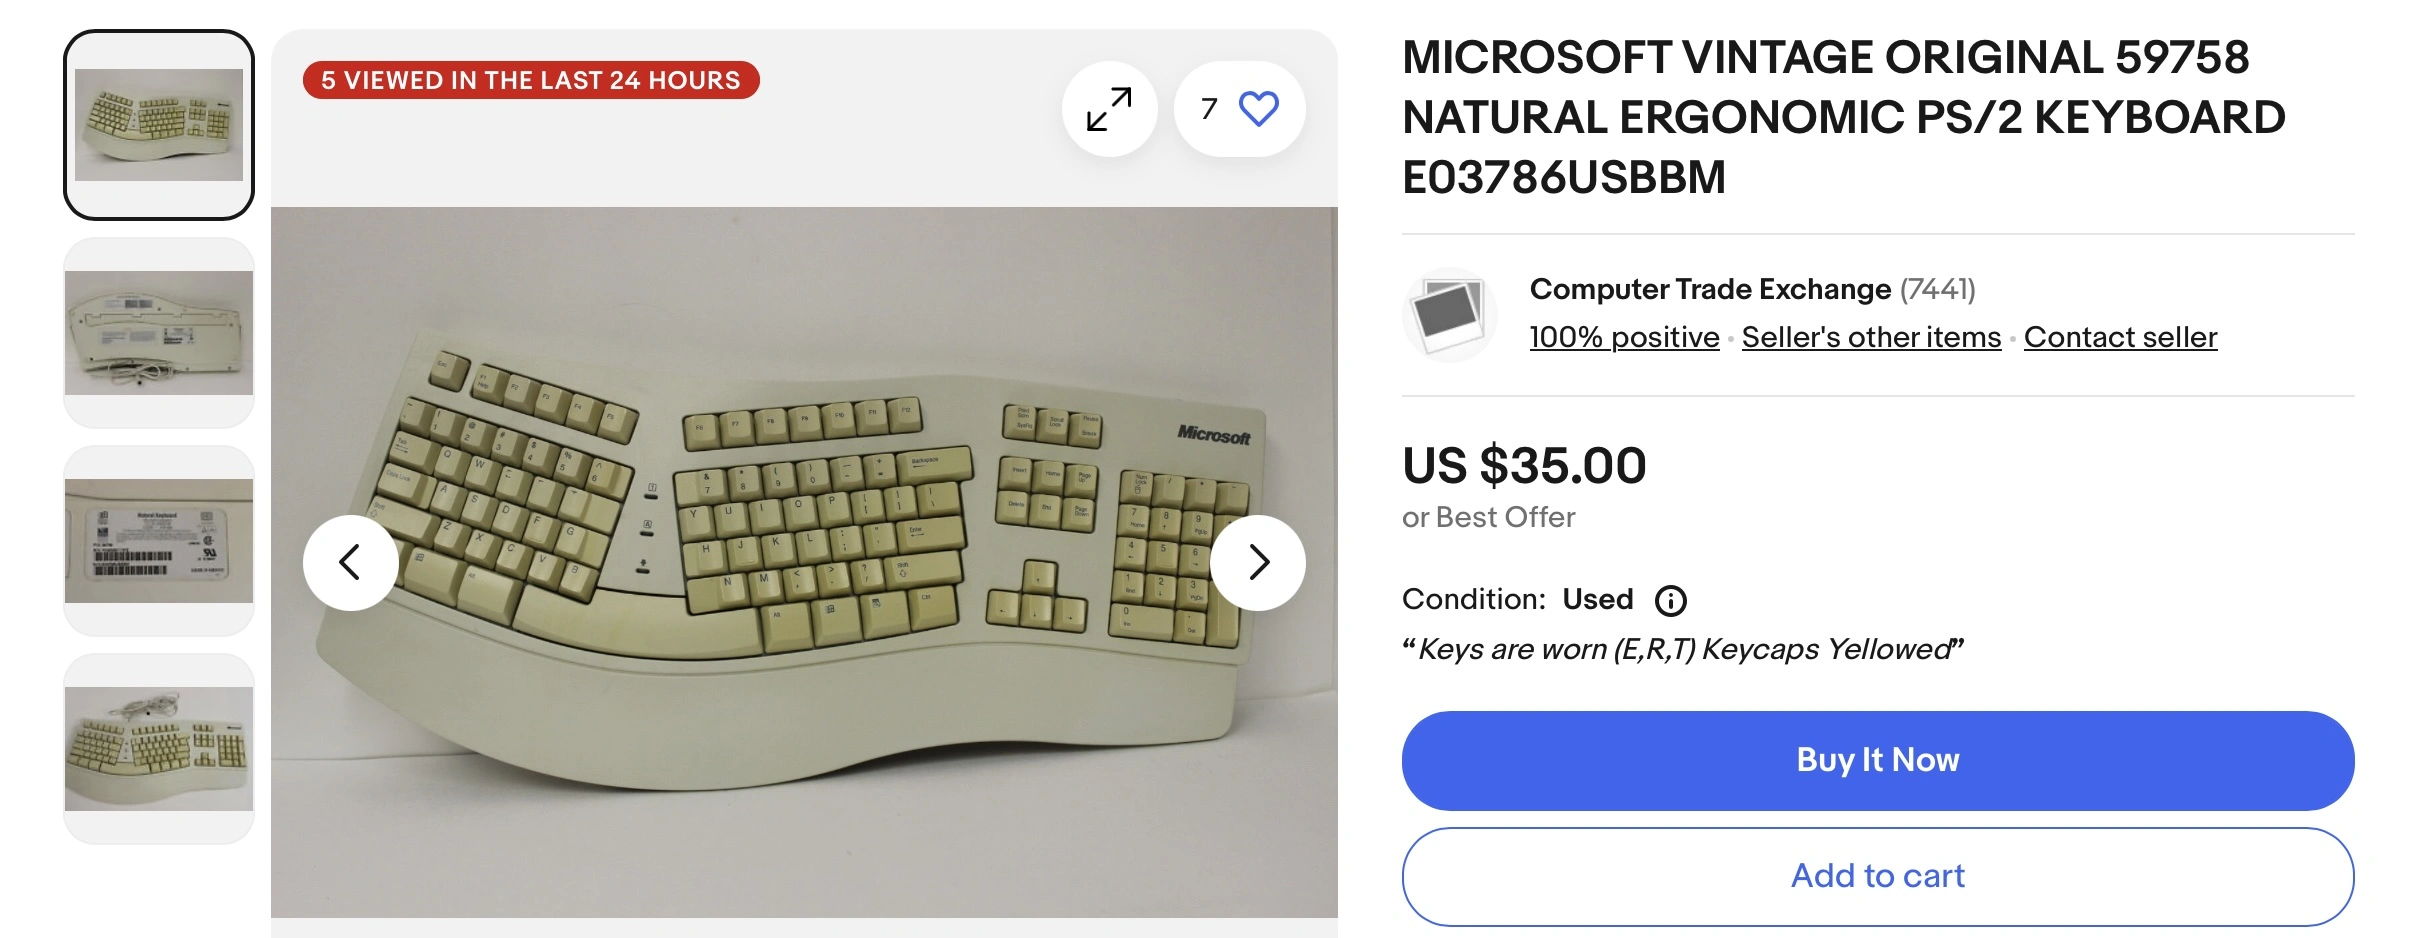 
This must have been the first ergonomic keyboard ever sold. PS/2 plug! (via ebay)

This must have been the first ergonomic keyboard ever sold. PS/2 plug! (via ebay)
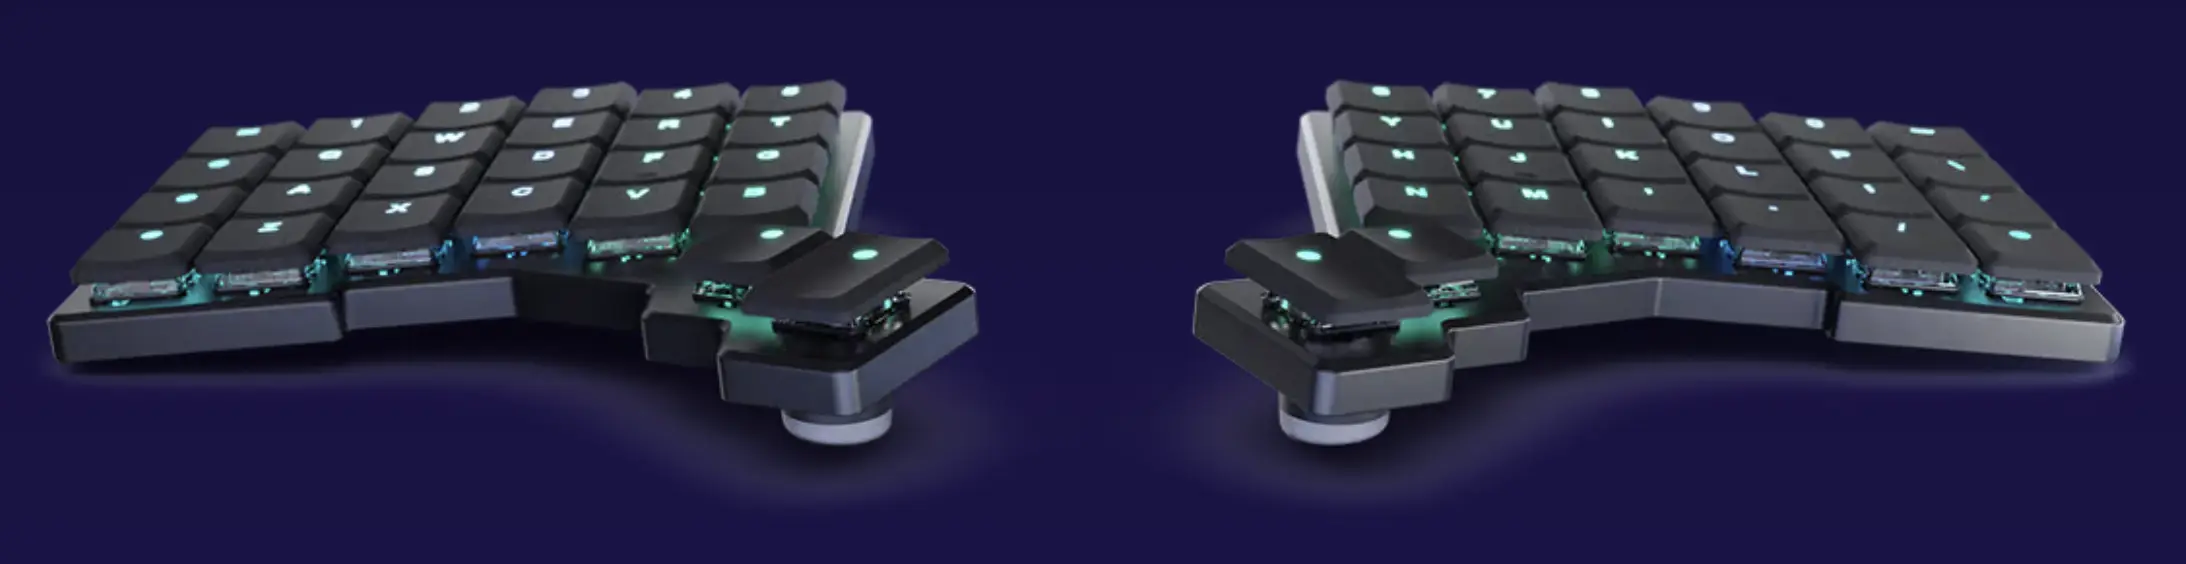
My main concern was the inwards rotation of my hands, so I quickly landed on getting a split keyboard (2 separate parts) that I can move around on the desk, and that can be tented. Which is when you tilt the 2 halves of the keyboard outwards so that your hands don’t have to rotate inwards to type on them.
The ZSA Voyager had just come out and it looked to do what I needed. It came with a few tiny studs for a minimal amount of tenting, and with a digital 3D model of the keyboard in order to design and build accessories.
And this is how I got into CAD (computer aided design) and 3D printing. I was going to make my own … tent poles. Or something. Little did I know…
I started off with TinkerCAD. This software is free and easy to learn, but I quickly hit its limits with my somewhat complex shapes and switched to Onshape. This is a professional CAD tool with a free version where all your designs are publicly accessible. Not a problem for me.
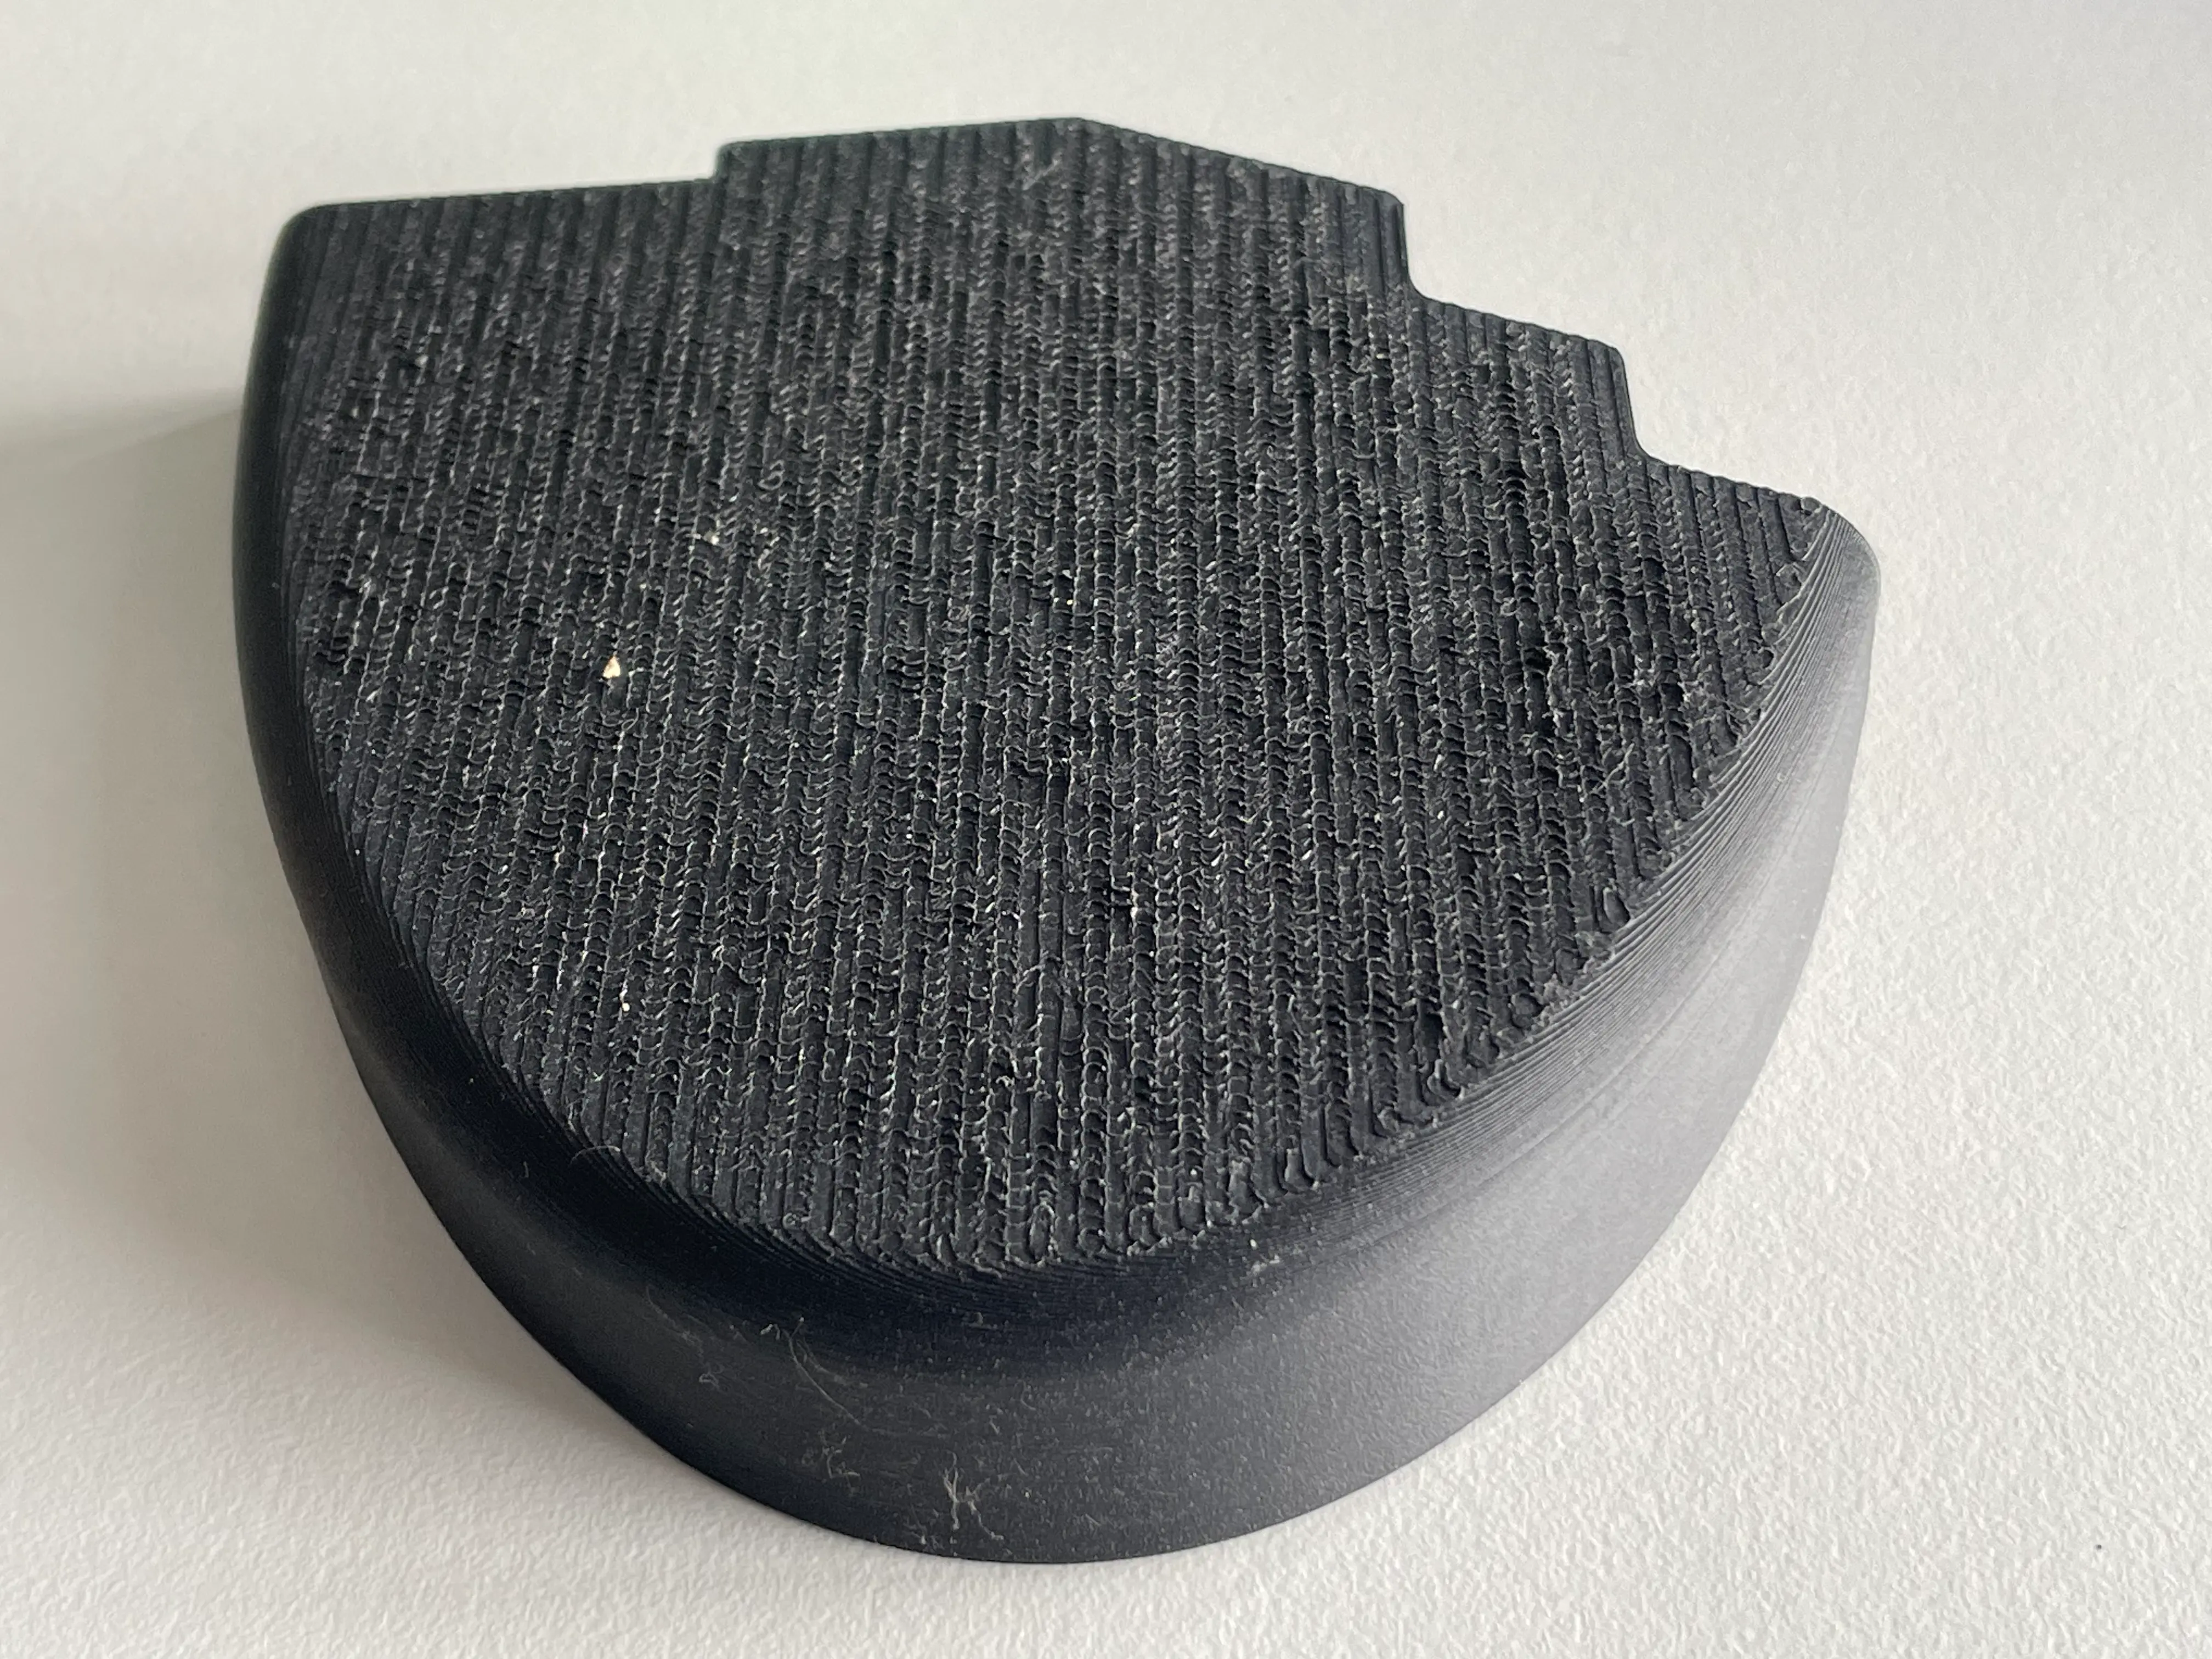
While some split keyboards come with little adjustable studs, it quickly became apparent to me that for 3D printing, basically a wedge would be the way to go. 3D printers like to print chunky things, not tiny brittle pieces.
Here is the first version. The far edge follows the shape of they keyboard so it can be placed right under it. Excuse the rough surface.
My next few iterations created a very moderate tilting angle, which I increased with every step. What I quickly realized was that I would also need palm rests that were also tented.
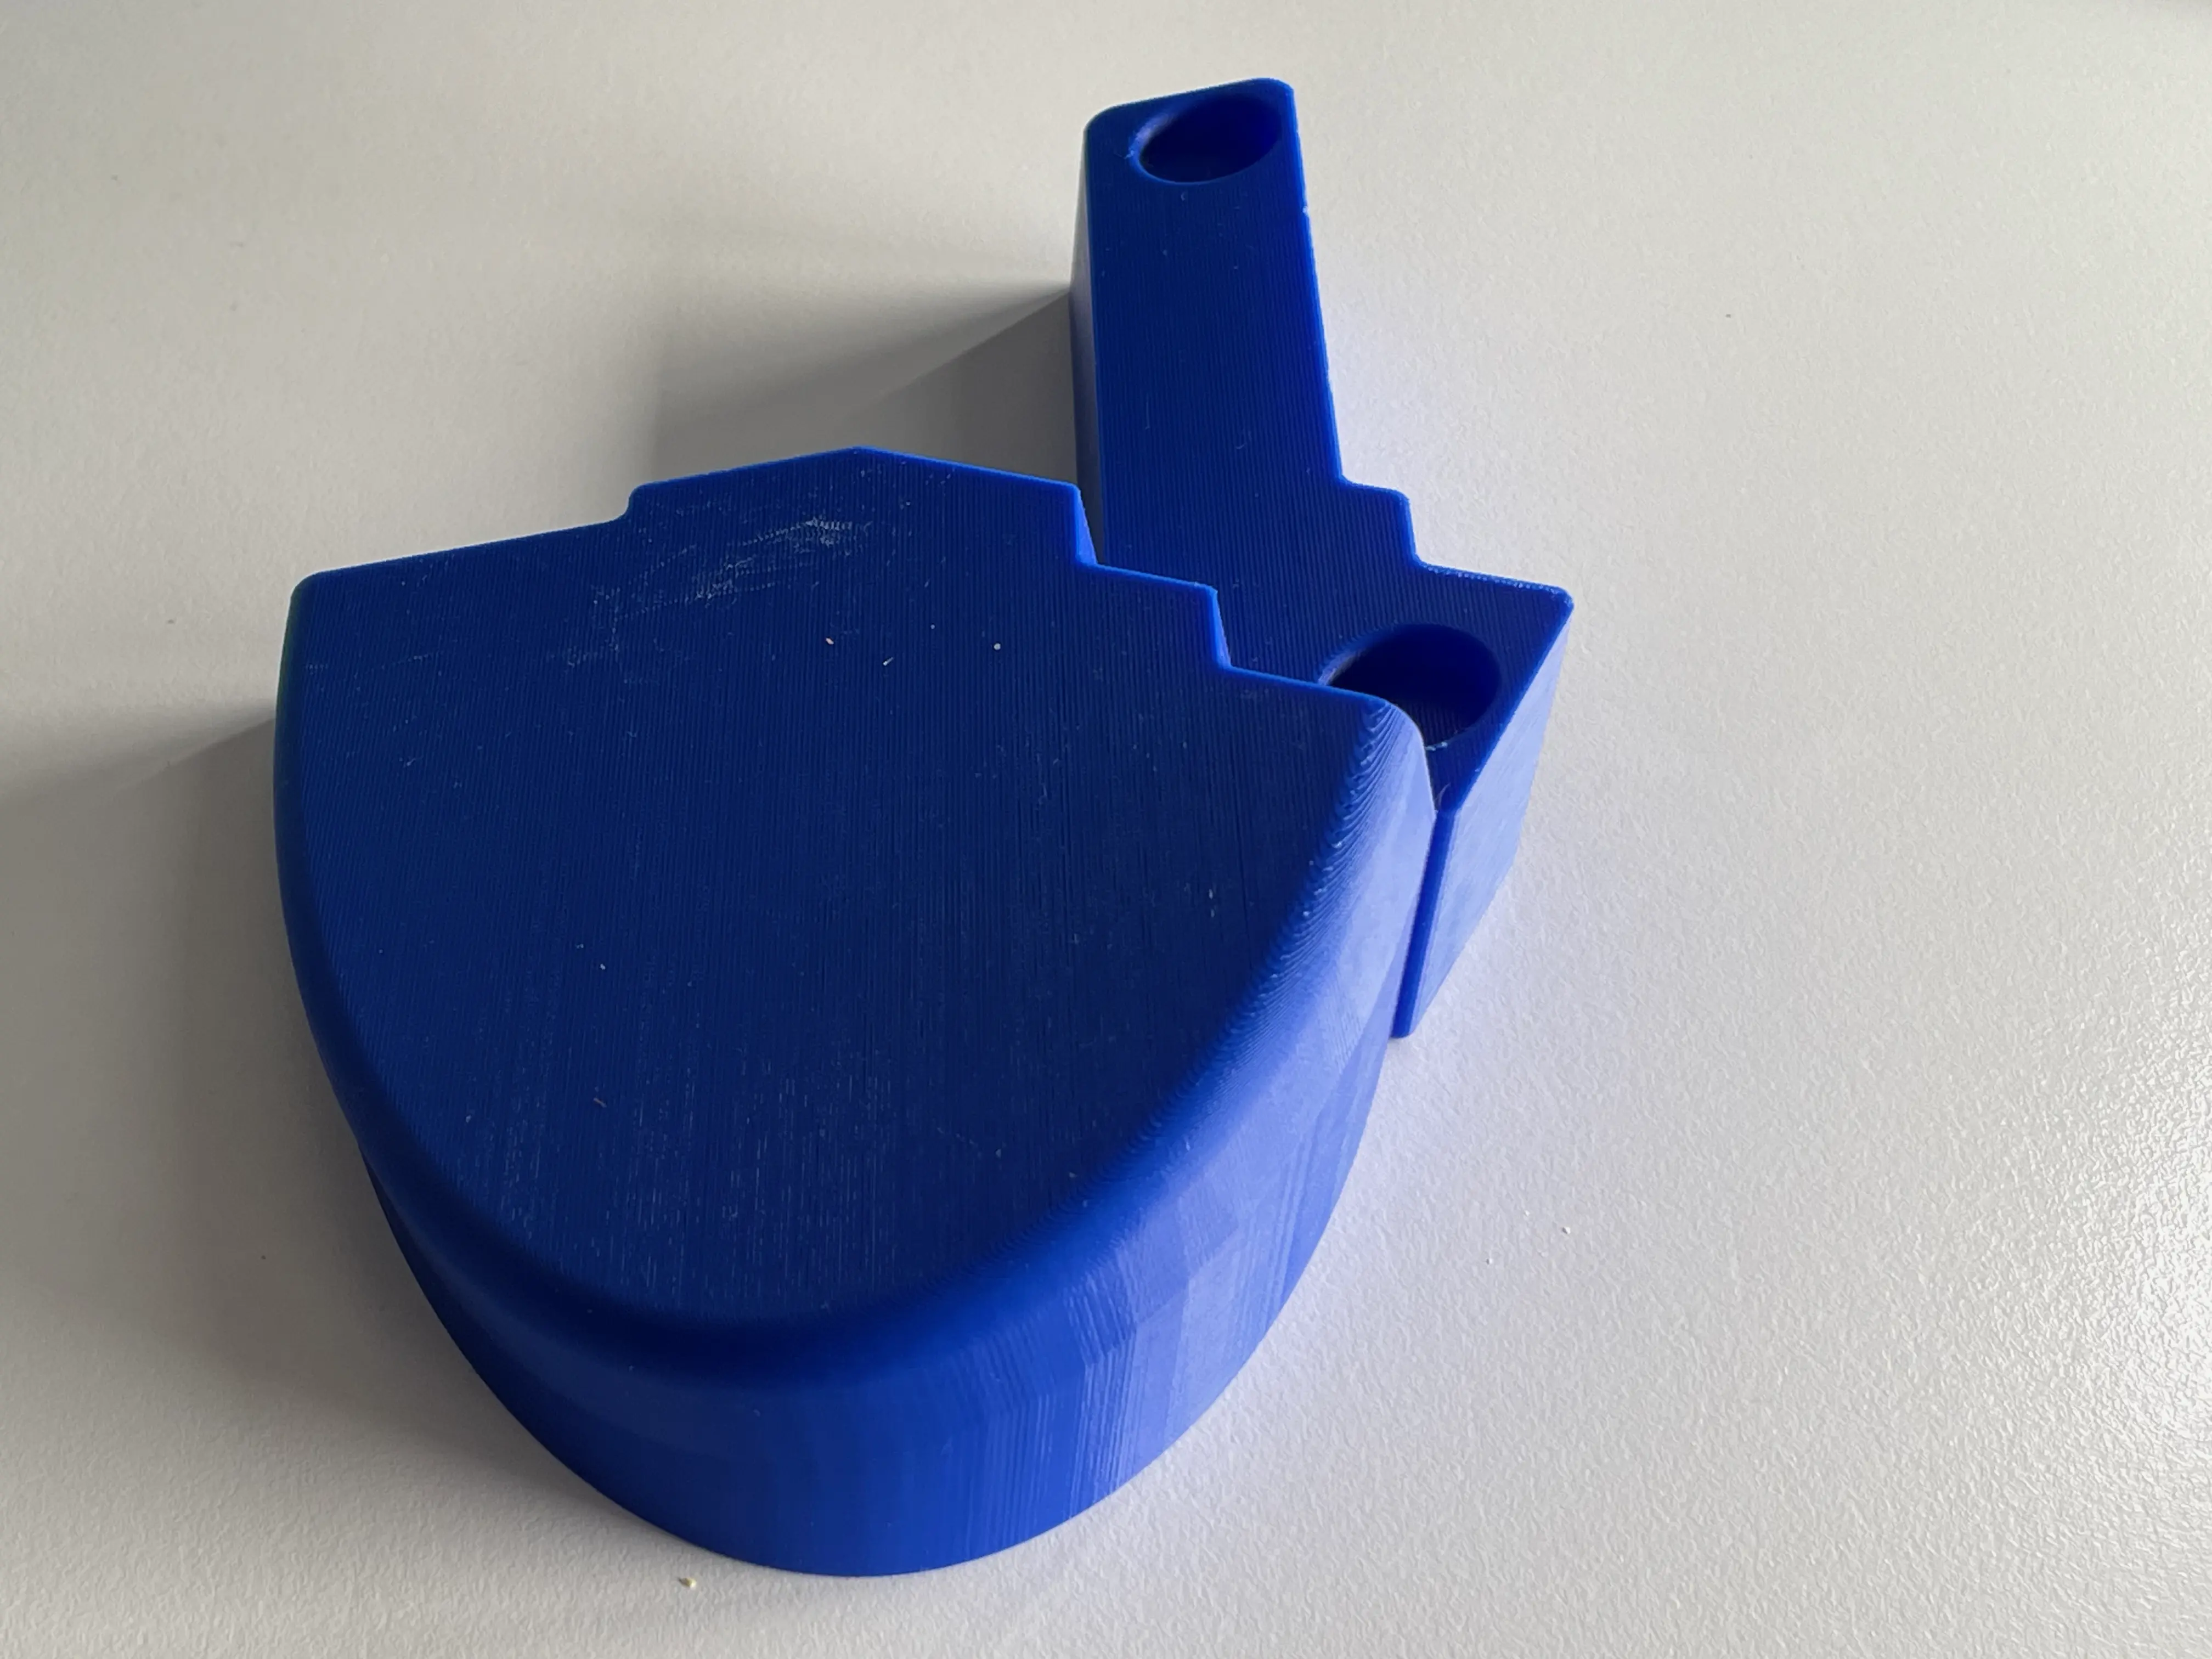
As I experimented with each version, the palm rests got bigger and bigger so that my entire hands would fit on them.
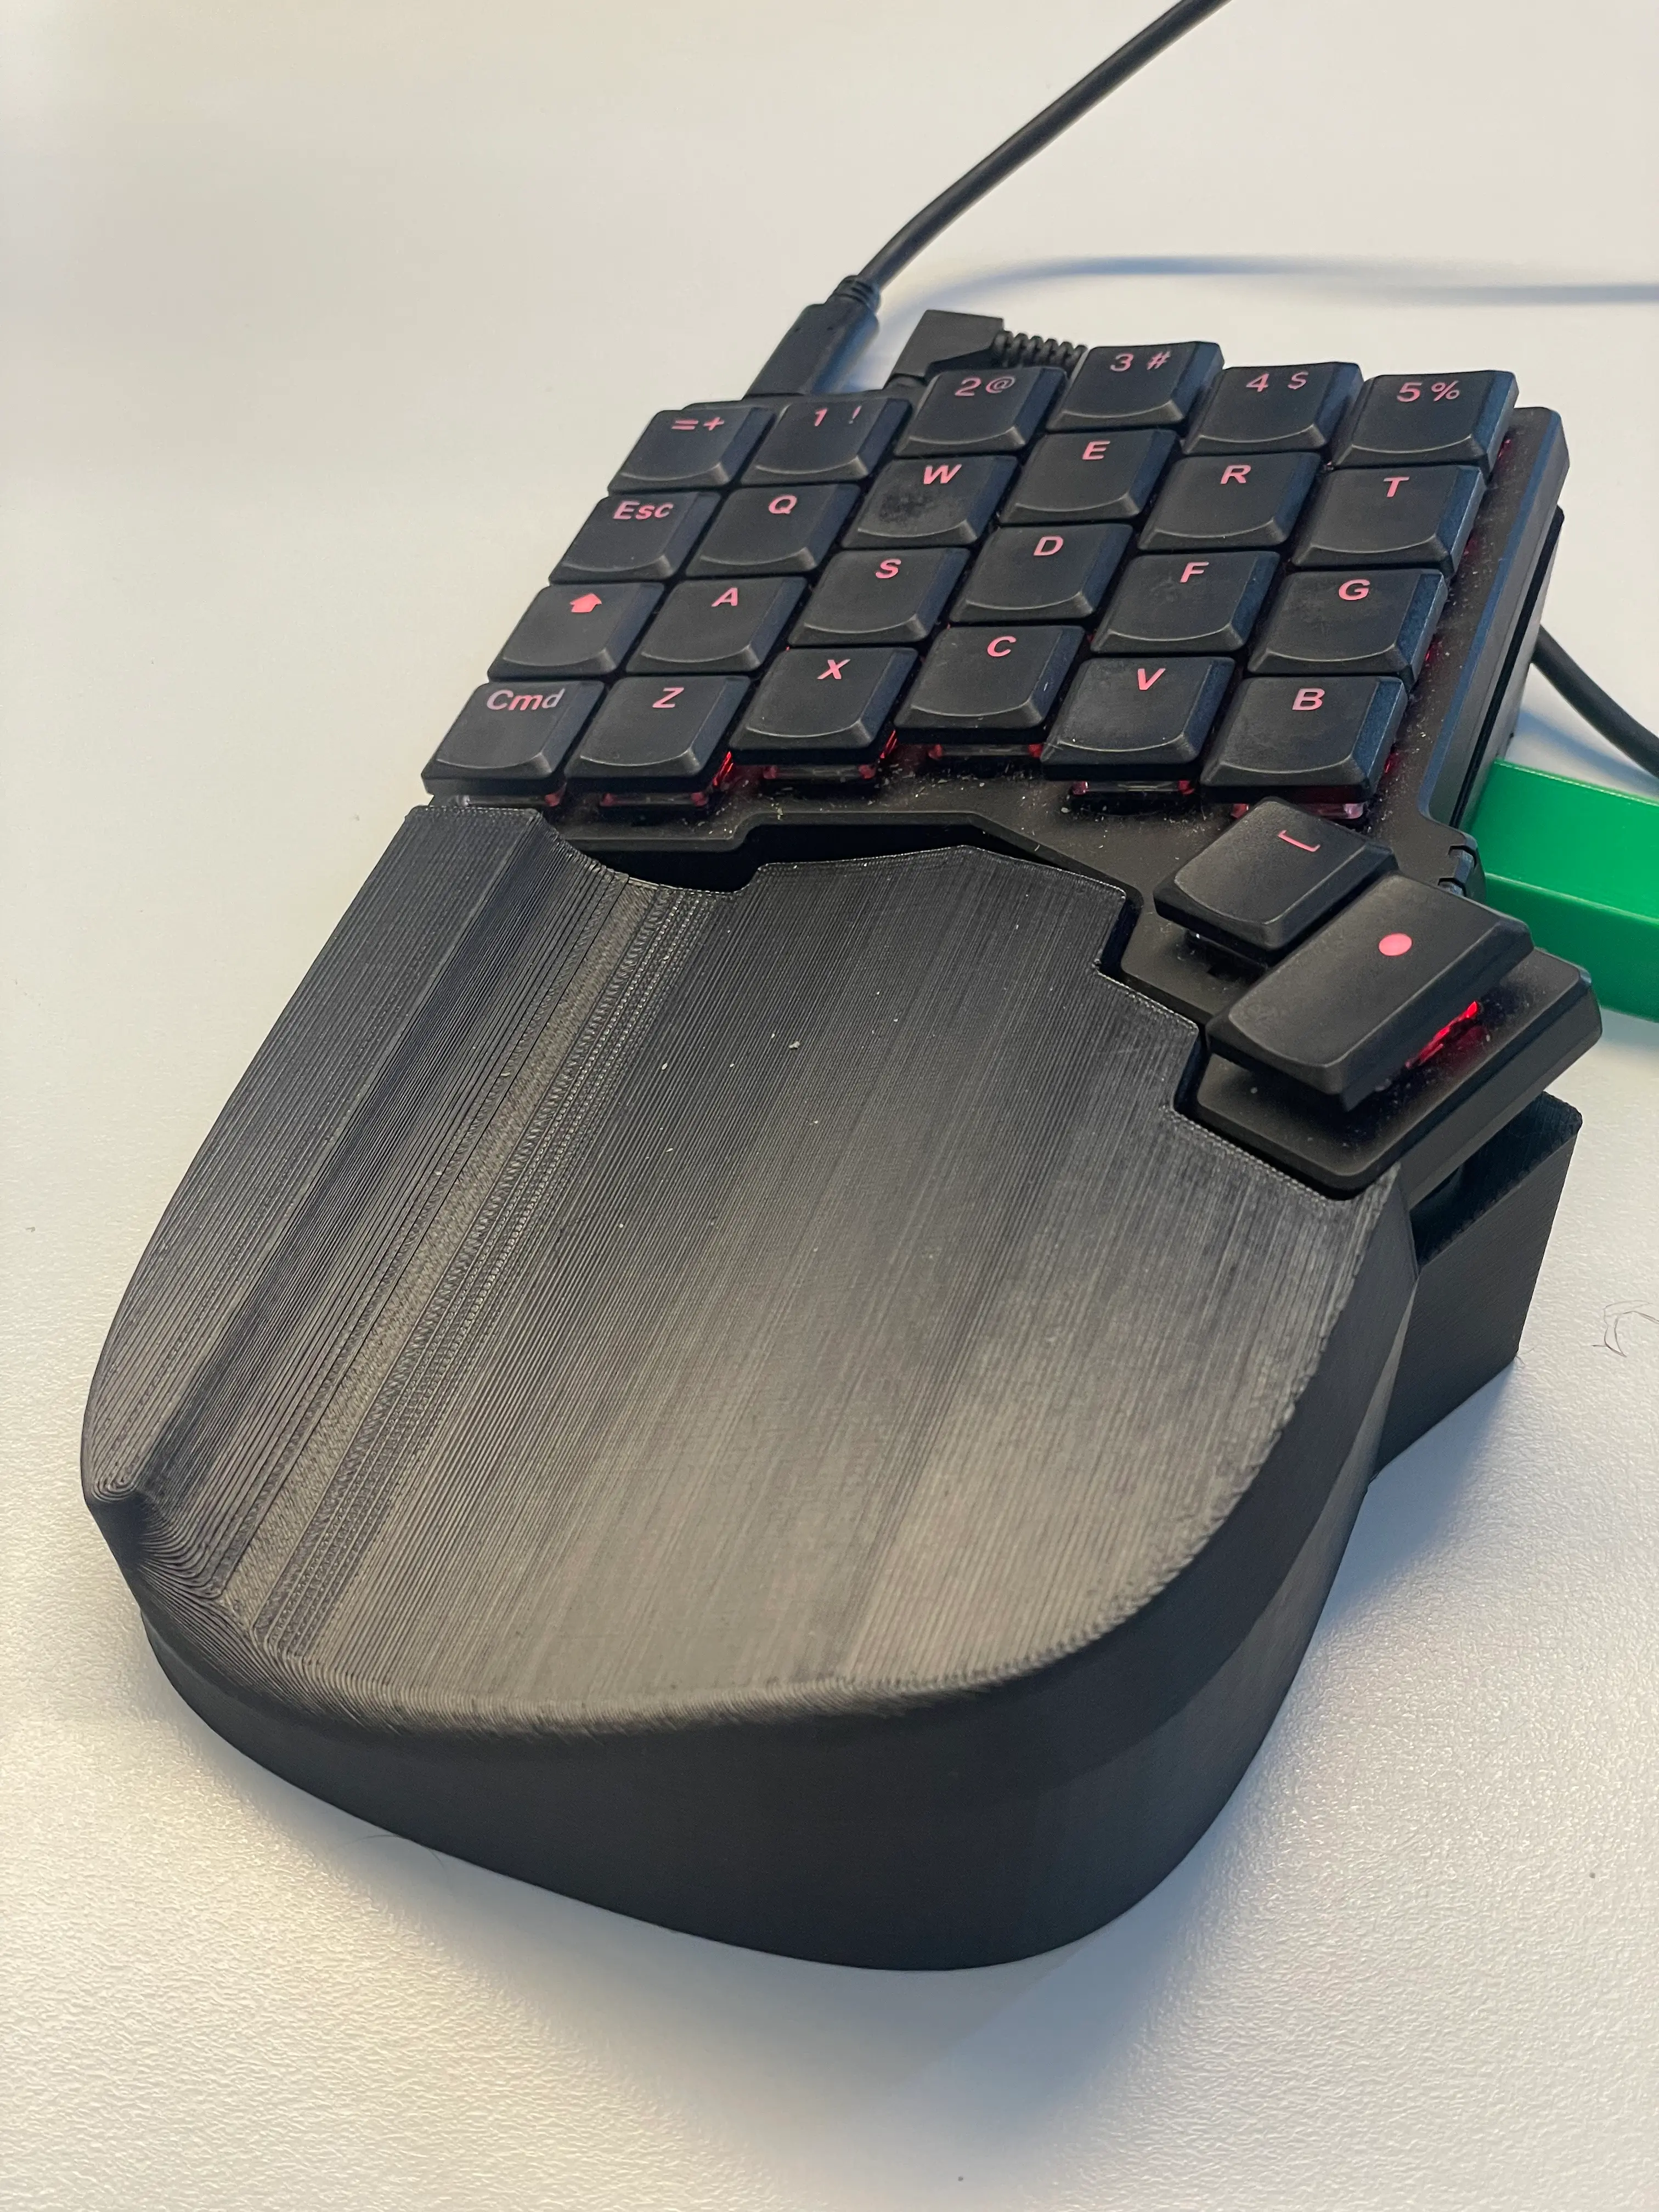
I also had to find a solution to prevent my hands from sliding off of the pads. Notice the left edge curving upwards:
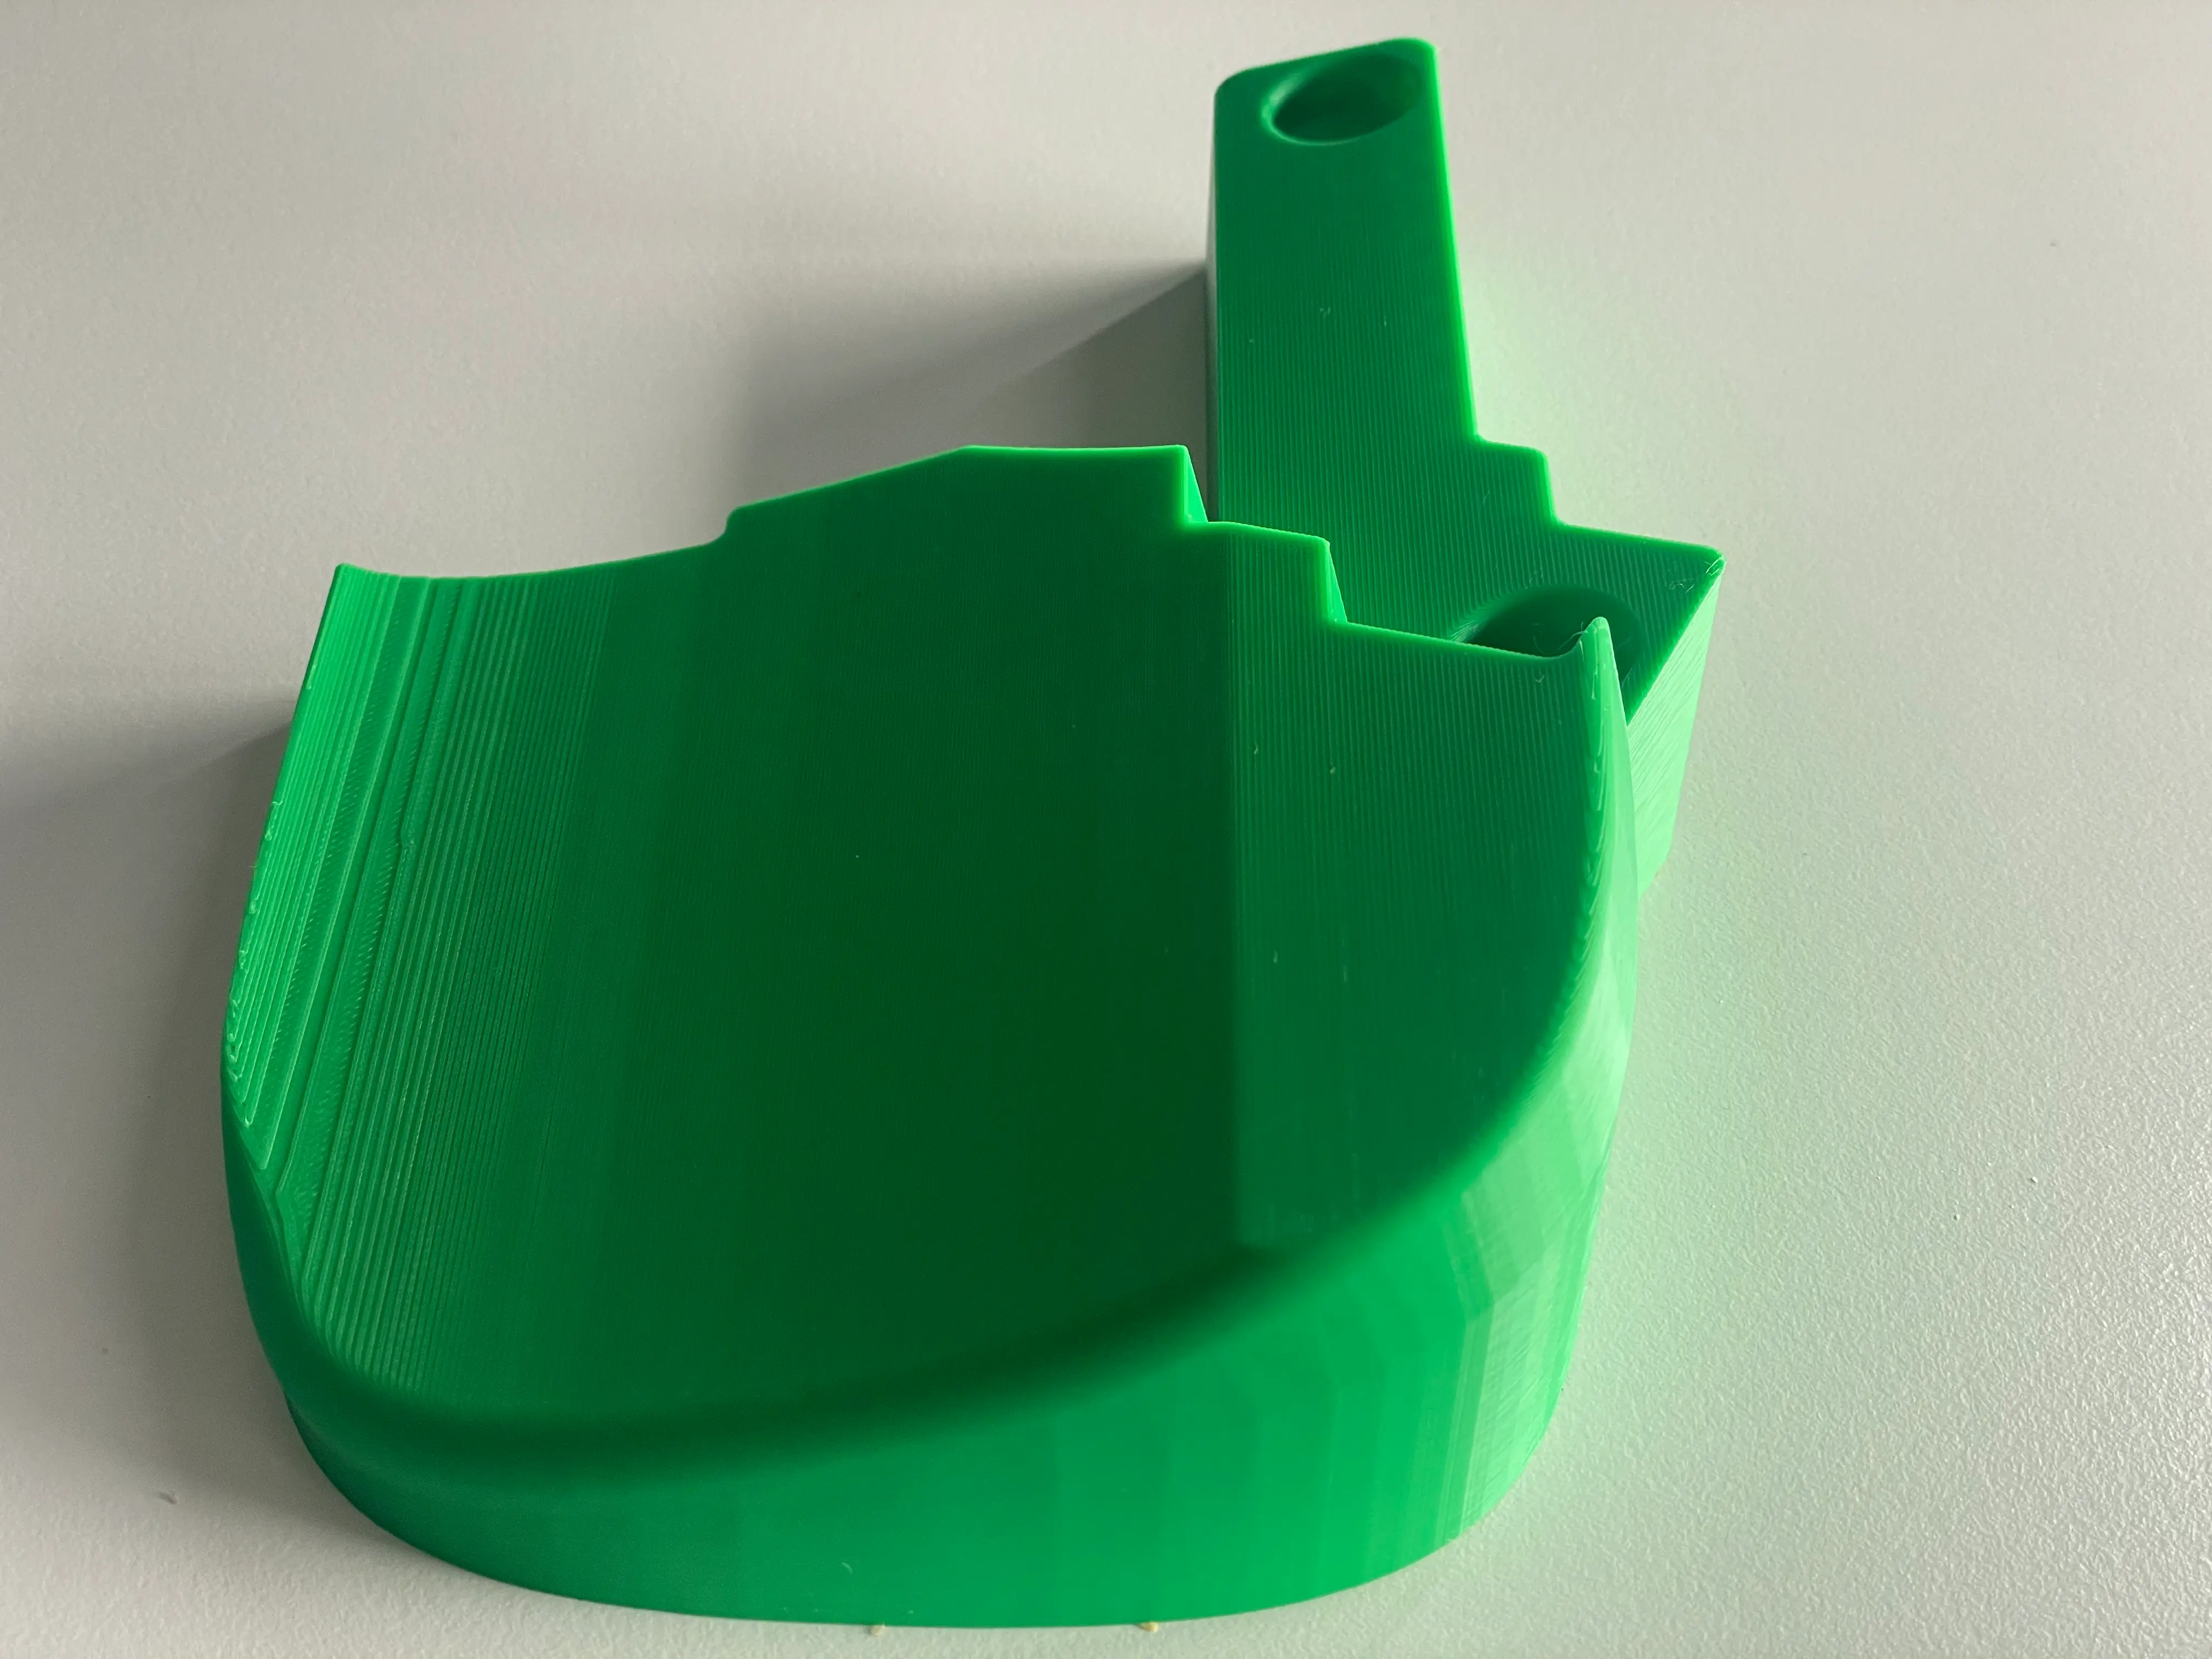

This is the version I have been using for a few months now and it works really well:
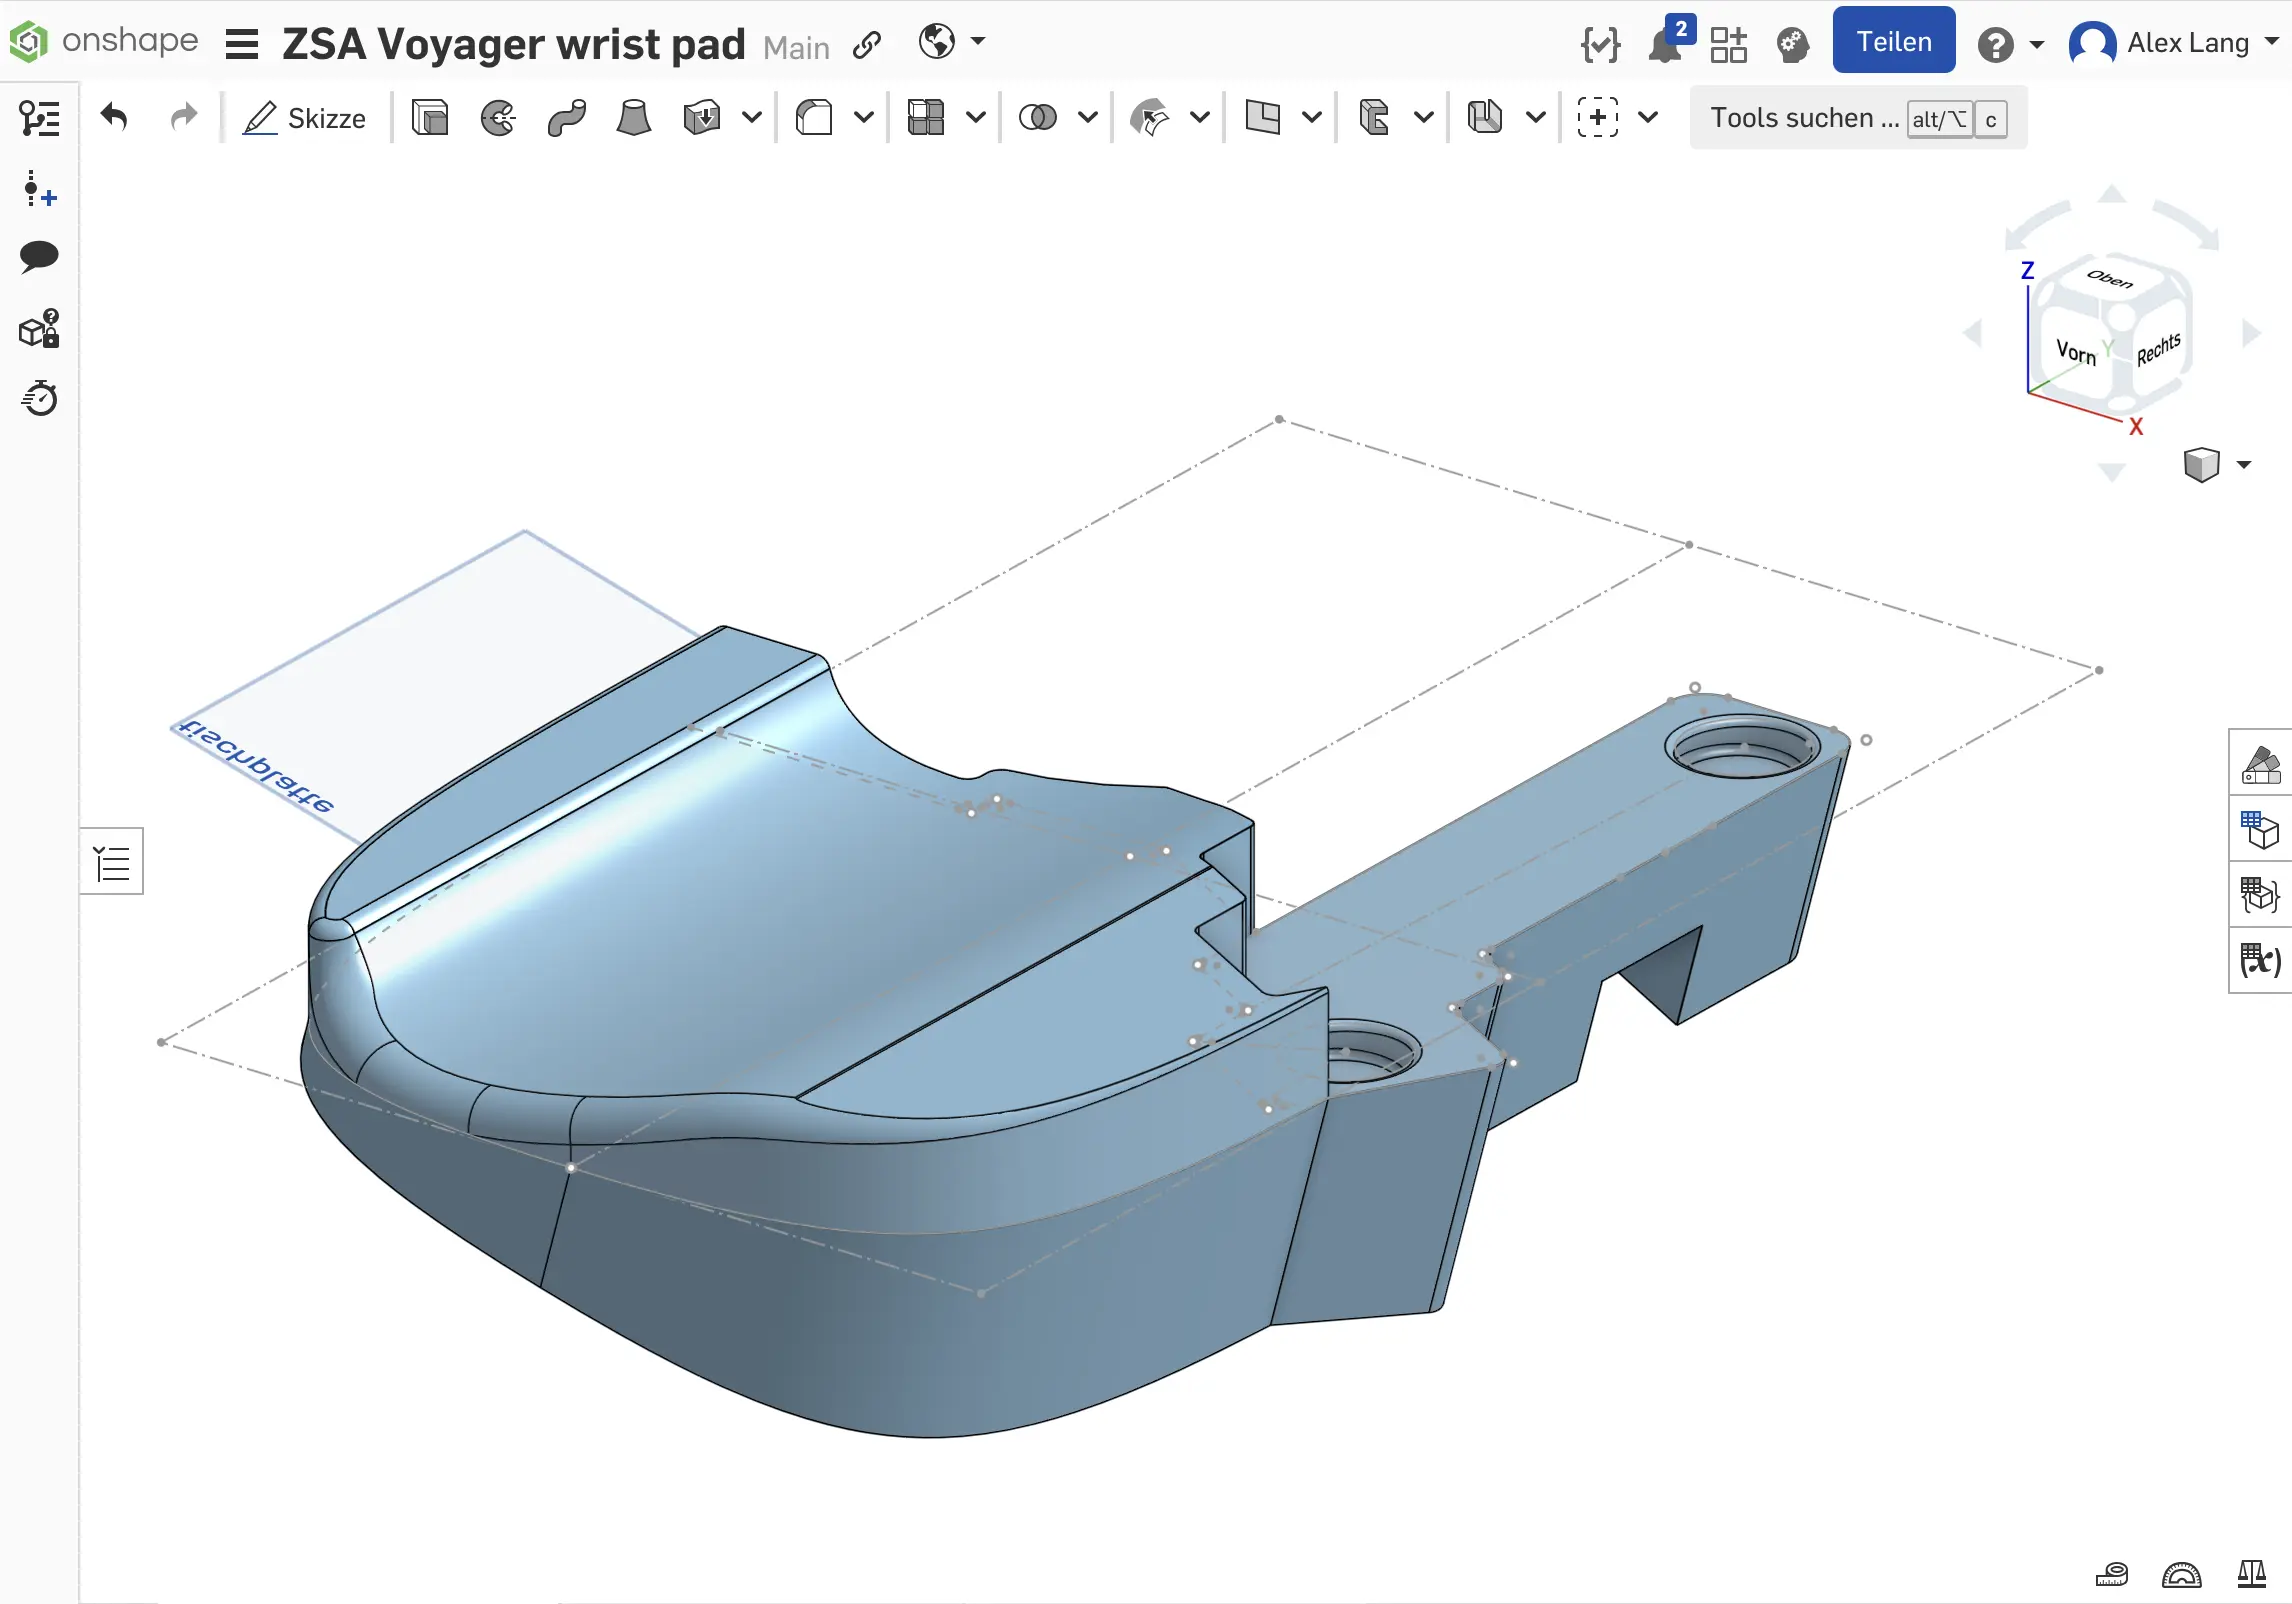
And here is the 3d model. Yes, it runs in the browser. After a click you can rotate it around, and if you get an Onshape account you can fork and modify it.
Thankfully my tennis elbow is gone, and I’m hoping to never see it again.
Comments