
For one, this gives us a goal to work towards (zero issues detected). It also helps to catch regressions or introduce new issues when developing new features.
The kinds of issues I’m talking about are simple things like making sure every <input> tag has a matching label, images have alt attributes etc.
Slightly up the ladder are CSS issues like fonts being too small or the contrast between text and background being too weak.
Some of these can be caught with static analysis. Ember JS for example has ember-template-lint which comes with a list of a11y rules.
Because Rails uses erb for templating and generates at least some part of the HTML in Ruby - which is almost inaccessible to static analysis - we can’t just lint our .erb templates.
Try
<%= content_tag(:span, class: 'b') { 'analyzing' } %>
<% 'this'.split('').each do |letter| %><%= letter %><% end %>!
What we need is the HTML that comes out of them. Luckily we have a comprehensive source of rendered HTML: our suite of feature tests using Capybara. All we have to do is capture the HTML that is generated during a test run, write it to the file system and feed that into an a11y checker.
Most people who have used Capybara probably know the save_and_open_page helper, which lives in the Capybara::Session class. Conveniently there is also one called save_page.
The following code hooks into the various Capybara methods that result in HTML output (visit, click_on etc) and stores the HTML in a file.
To avoid generating multiple HTML files per controller/action, the HTML filename consists of the Rails URL with any ids replaced with static placeholders, resulting in only one HTML file per action. The downside here is that we will not capture each erb template in all its states.
We also generate the Rails assets, copy them into the same folder as the HTML files and change the CSS <link>s in the HTML to point to these - this allows us to look at the HTML with working CSS and surface any font size or color contrast issues.
module SaveVisitedPages
  ID_REGEX = /[0-9a-f]{32}/ # change this depending on what id format your app uses

  def visit(*, **)
    super
    save_page_for_url
  end

  def click_link(*, **)
    super
    save_page_for_url
  end

  def click_button(*, **)
    super
    save_page_for_url
  end

  def click_on(*, **)
    super
    save_page_for_url
  end

  def save_page(*, **)
    save_assets
    # change asset path to point to assets in the same directory (see save_assets)
    def self.body
      (driver.html || '').gsub('href="/assets', 'href="./assets').gsub(
        'src="/assets',
        'src="./assets'
      )
    end
    super
  end

  # only save one file per URL so we don't get too many files/duplicate
  # issues for now
  def save_page_for_url
    return unless ENV['SAVE_VISITED_PAGES'] # we set this to true on CI and skip it on dev machines
    return unless current_url && body.present? # i.e. for redirects

    save_assets
    request_method = driver.try(:request)&.request_method || 'NA' # js driver does not support request
    uri = URI.parse(current_url)
    subdomain = uri.hostname.split('.').first

    url_path = uri.path
    url_path.gsub!(ID_REGEX, '1') # replace UUIDs with a constant value so we don't get the same page multiple times

    # change asset path to point to assets in the same directory (see save_assets)
    def self.body
      (driver.html || '').gsub('href="/assets', 'href="./assets').gsub(
        'src="/assets',
        'src="./assets'
      )
    end

    file_path =
      "#{request_method}!!#{subdomain}!!#{url_path.gsub('/', '--').gsub(/[^\w-]+/, '-')[0, 100]}.html"
    save_page(file_path)
  end

  def save_assets
    assets_path = config.save_path.join('assets') # save_path is where the html files go
    rails_assets_path = Rails.public_path.join('assets')
    return if assets_path.exist? # only generate assets if they are missing

    unless rails_assets_path.exist?
      puts('Generating assets for Capybara saved pages...')
      `#{Rails.root.join('bin/rails')} assets:precompile`
    end
    FileUtils.mv(rails_assets_path, config.save_path)
  end
end

Capybara::Session.prepend(SaveVisitedPages)
After including the above code in our test suite and running tests, we get a long list of HTML files in tmp/capybara. We can look at them in a browser and run for example the axe dev tools browser extension.
Or we can run some automated testing: enter pa11y and its sibling (child?) project pa11y-ci. Pa11y lets you run a11y tests from the command line and write the results to various machine and human readable formats.
We use GitHub Actions for CI, so this is what our (simplified) workflow looks like:
.github/workflows/ruby.yml:
jobs:
  test:
    runs-on: ubuntu-latest
    steps:
      - uses: actions/checkout@v4
      - name: Run tests
        run: SAVE_VISITED_PAGES=true bundle exec rake test
      - name: Copy Capybara HTML files
        uses: actions/upload-artifact@v4
        with:
          name: capybara-html
          path: tmp/capybara
  pa11y:
    needs:
      - test
    runs-on: ubuntu-20.04 # see https://github.com/pa11y/pa11y-ci/issues/198#issuecomment-1418343240
    steps:
      - uses: actions/checkout@v4
      - name: Download Capybara HTML files
        uses: actions/download-artifact@v4
        with:
          name: capybara-html
          path: tmp/capybara
      - name: Run pa11y
        run: |
          cd pa11y
          yarn
          yarn pa11y-ci ../tmp/capybara/*.html
      - name: Add pa11y report to summary
        if: always()
        run: |
          cd pa11y
          cat ./pa11y-cli-report.md >> $GITHUB_STEP_SUMMARY
We also need to add these files to a pa11y/ folder within the project. These consist of a package.json file so that we can install pa11y from npm, a config file and a custom report that outputs HTML for GitHub.
The last step in the workflow file adds the report to the summary page of the GitHub Actions run:
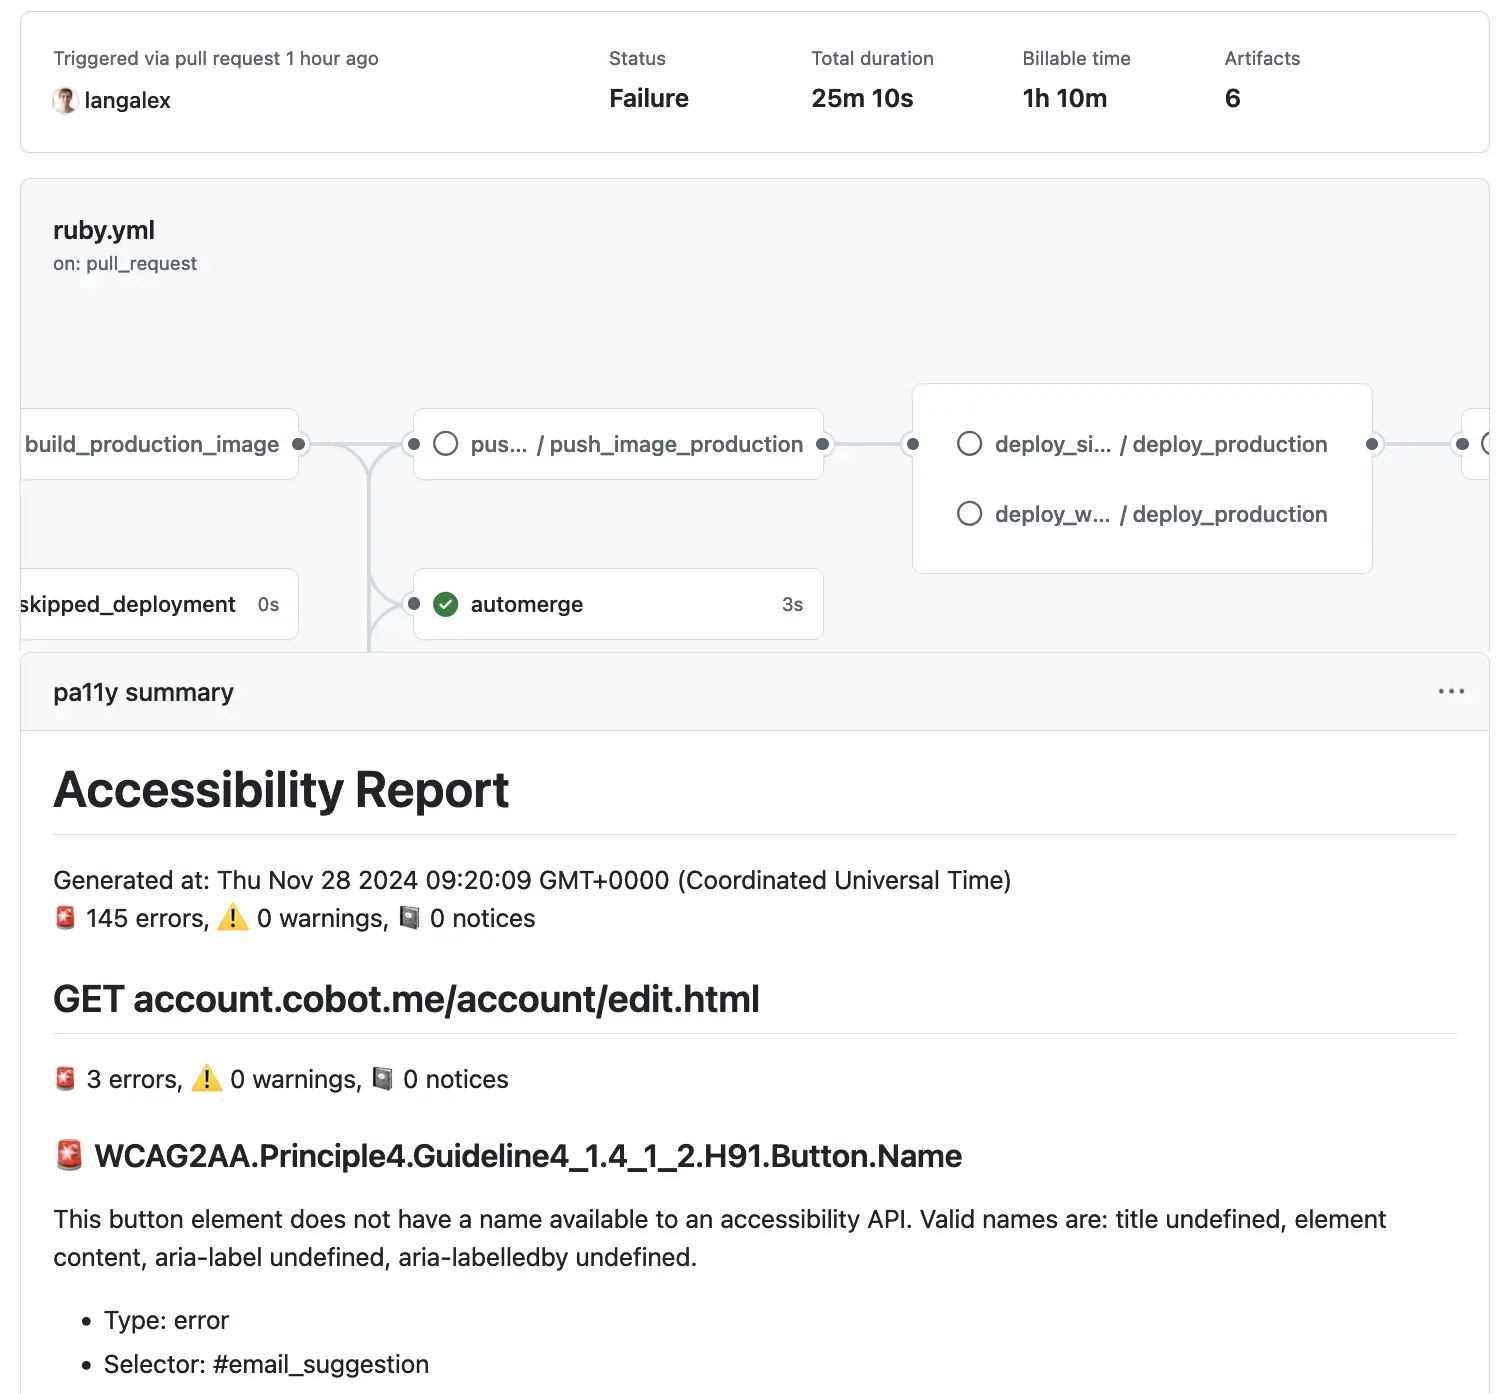
And that’s it. Automated a11y issue reporting on CI.
Now we just need to start the actual work of getting those 145 errors down to zero. And then we can mark the pa11y job as a required check for merging pull requests.
]]>
 cabin top
 cabin sides - you can see the marks for the windows
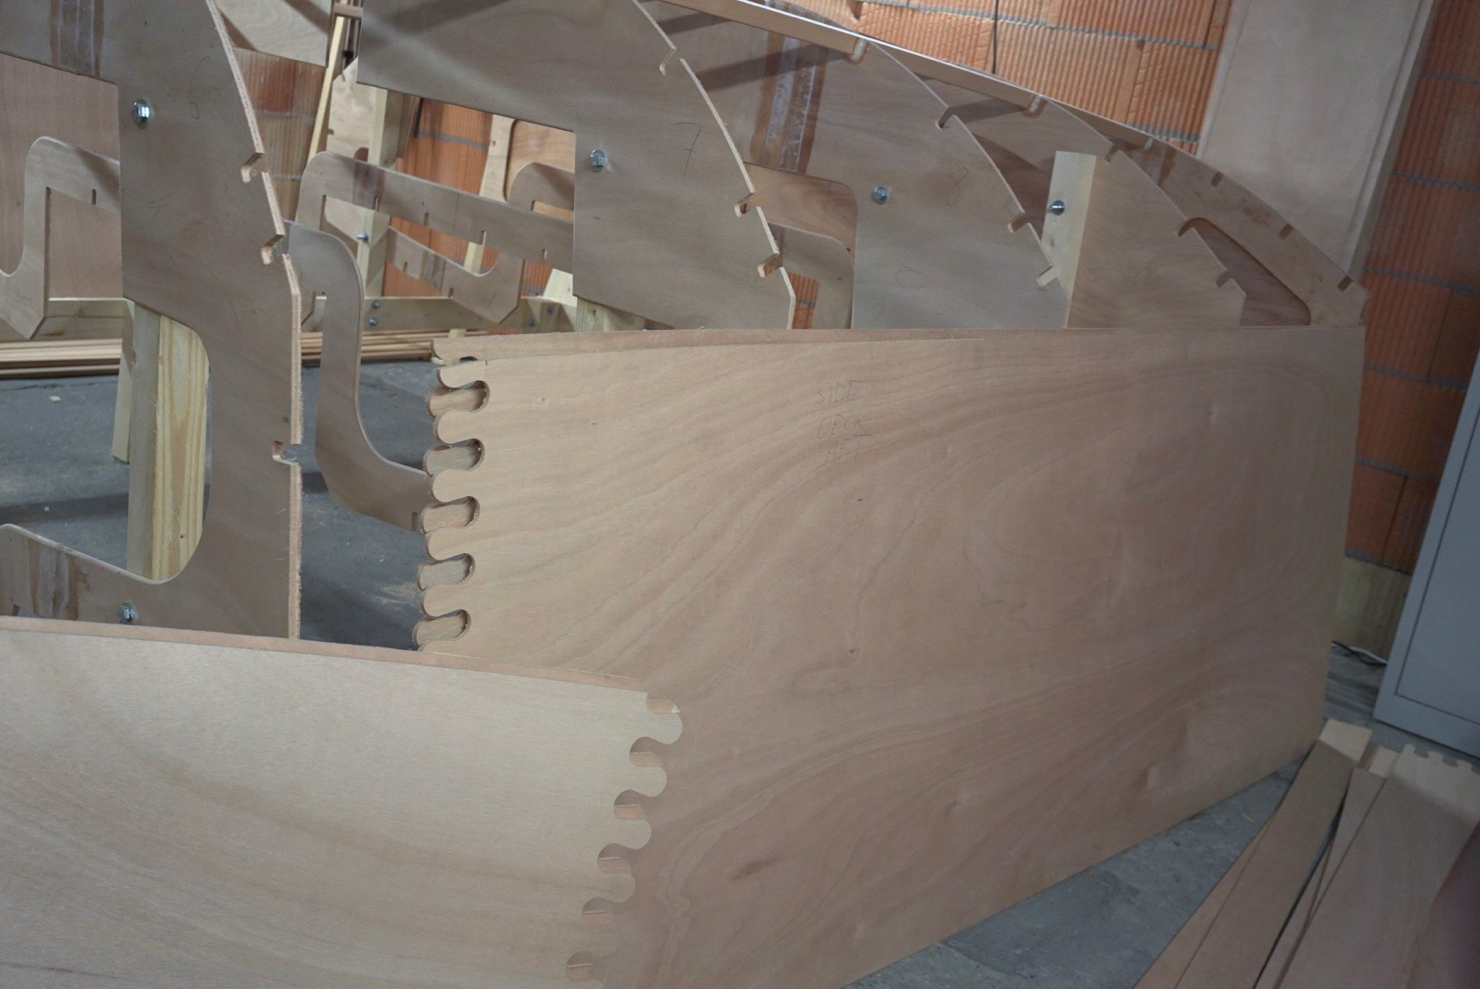 cockpit seats/side deck - aft
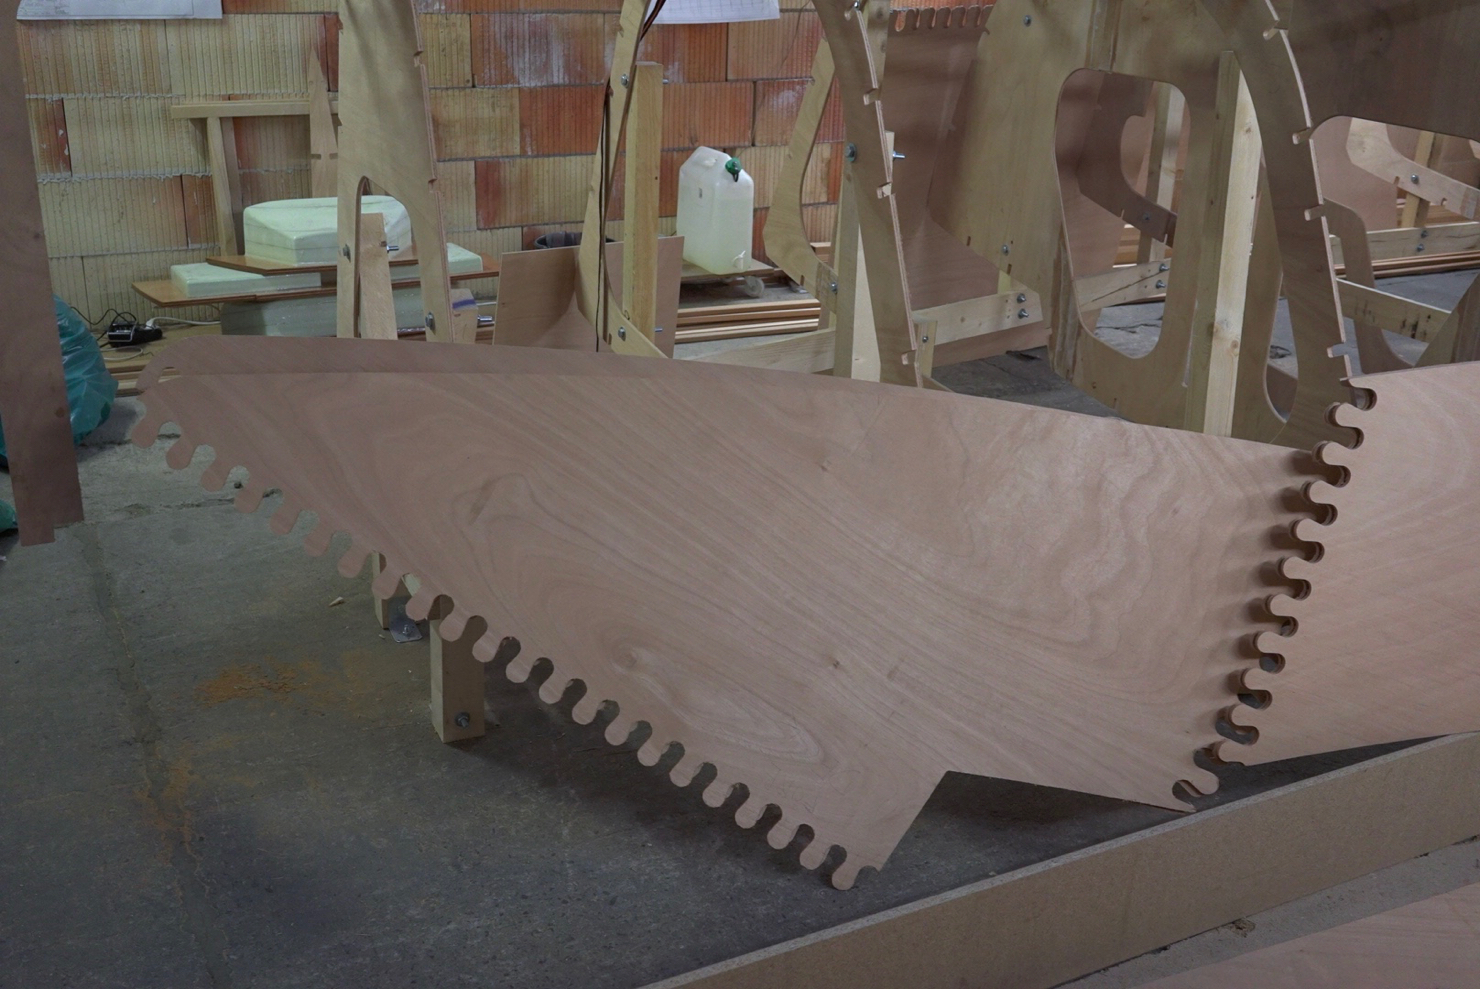 side deck, foredeck
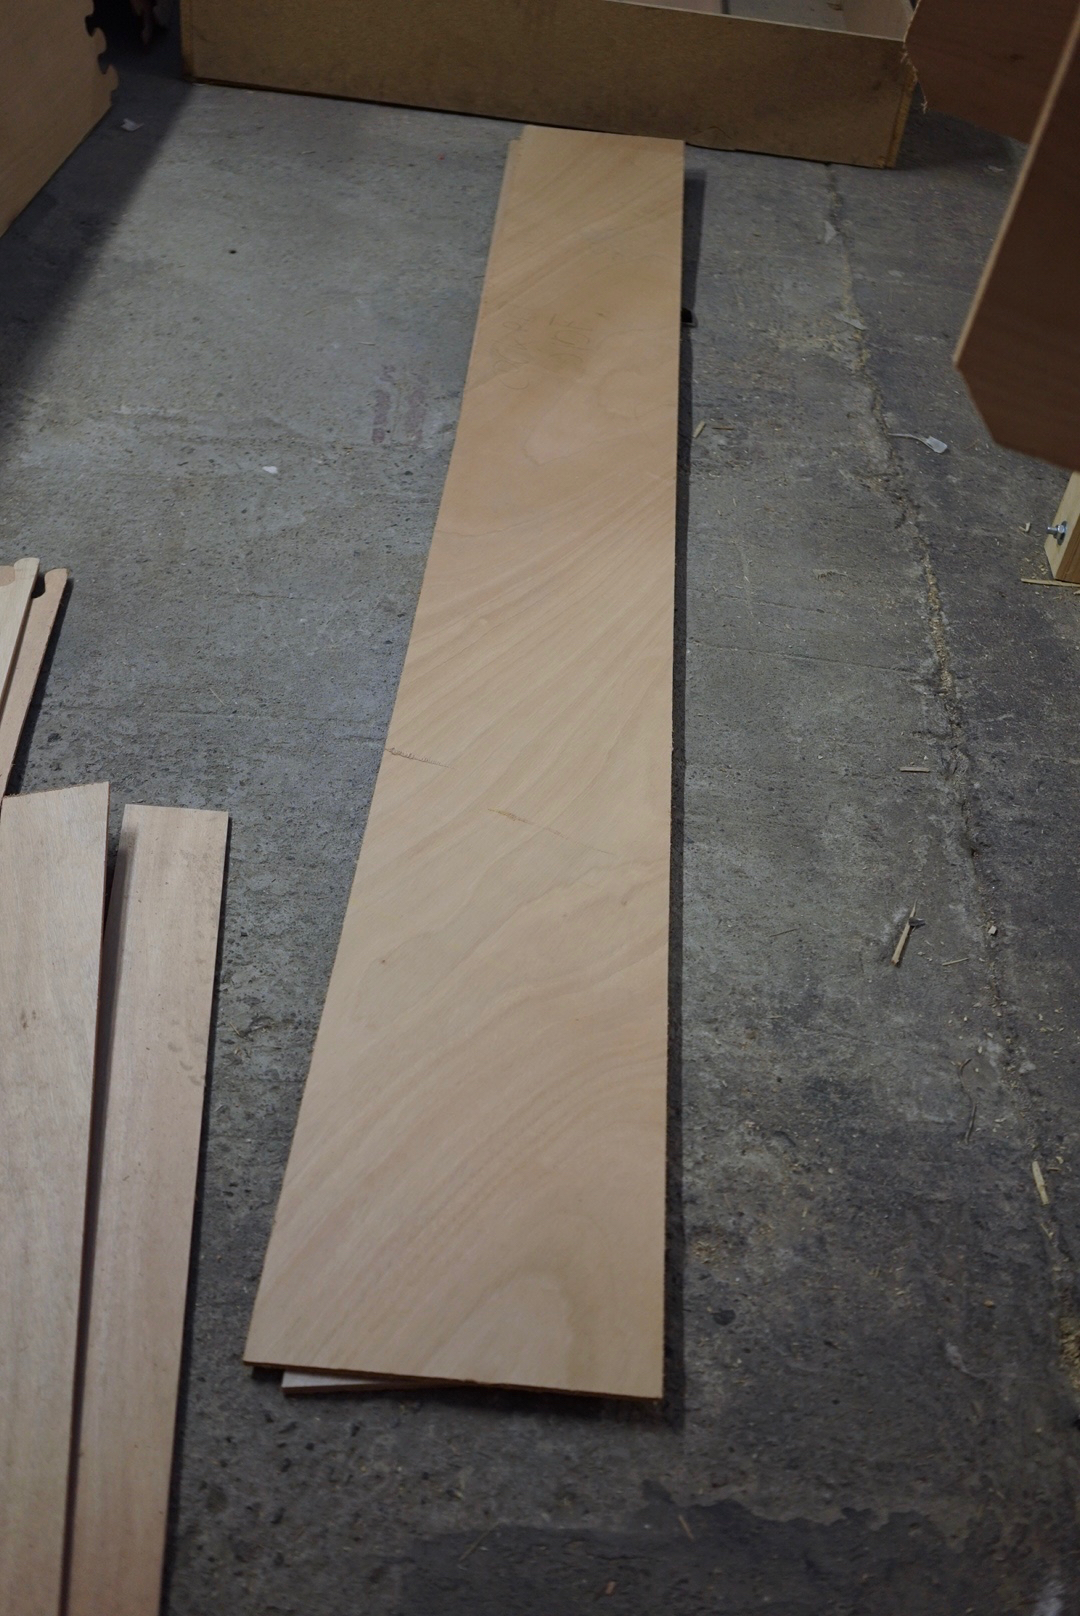 cockpit sides
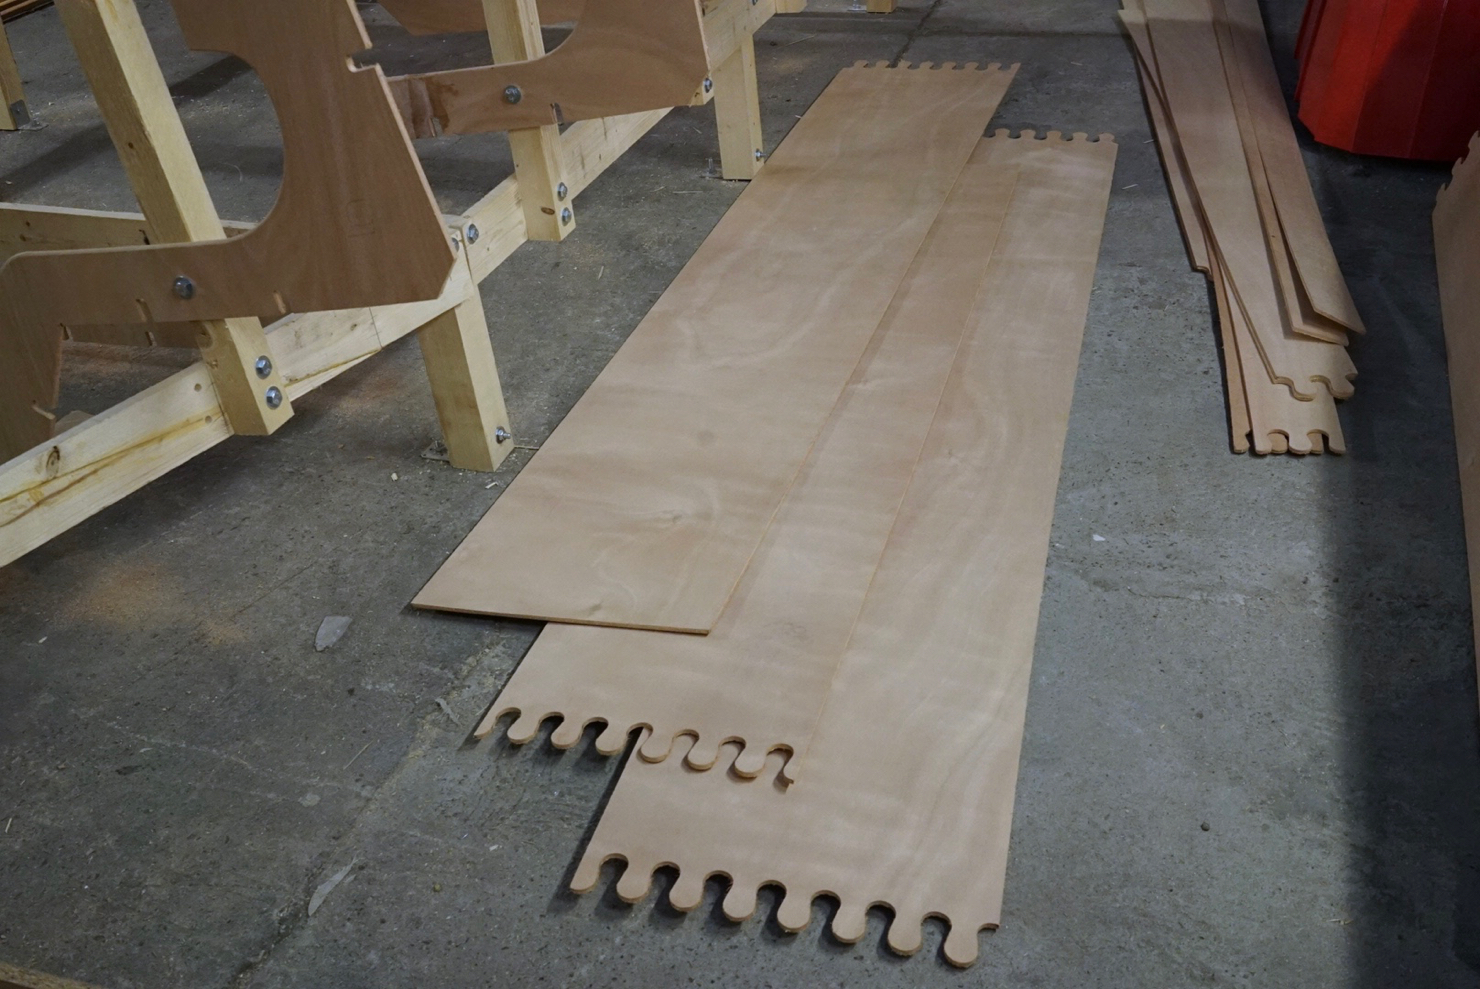 hull side - between chine and sheer line
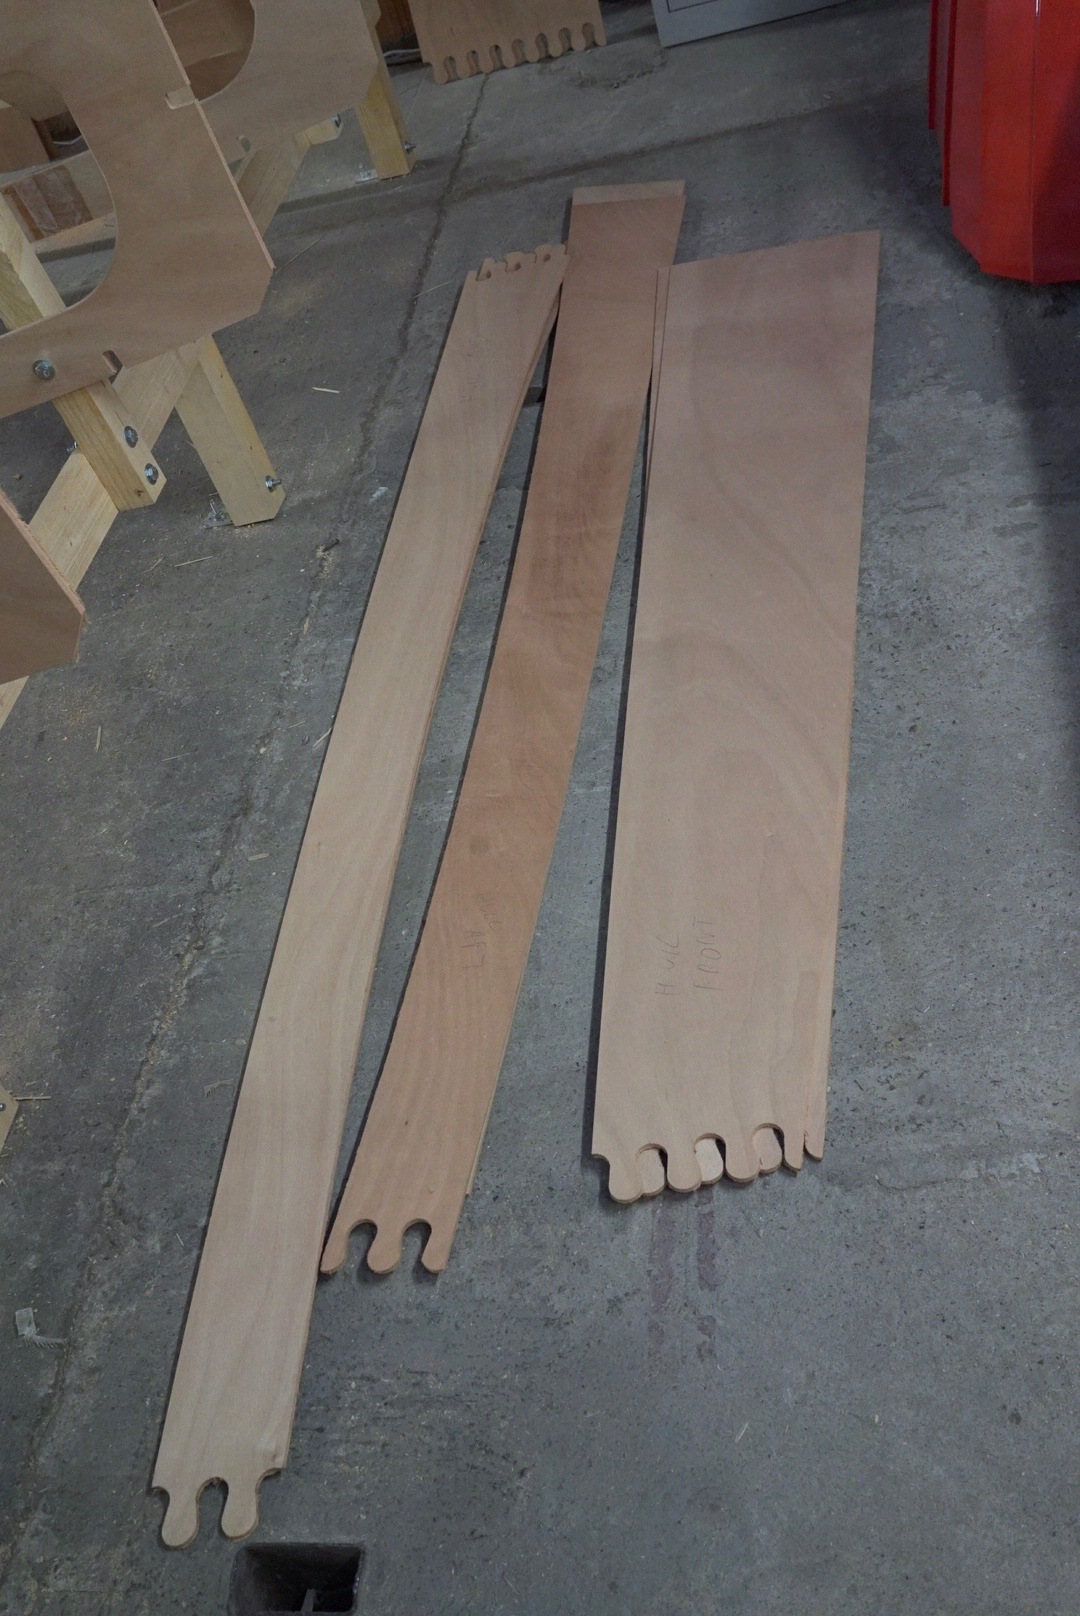 hull side - below chine
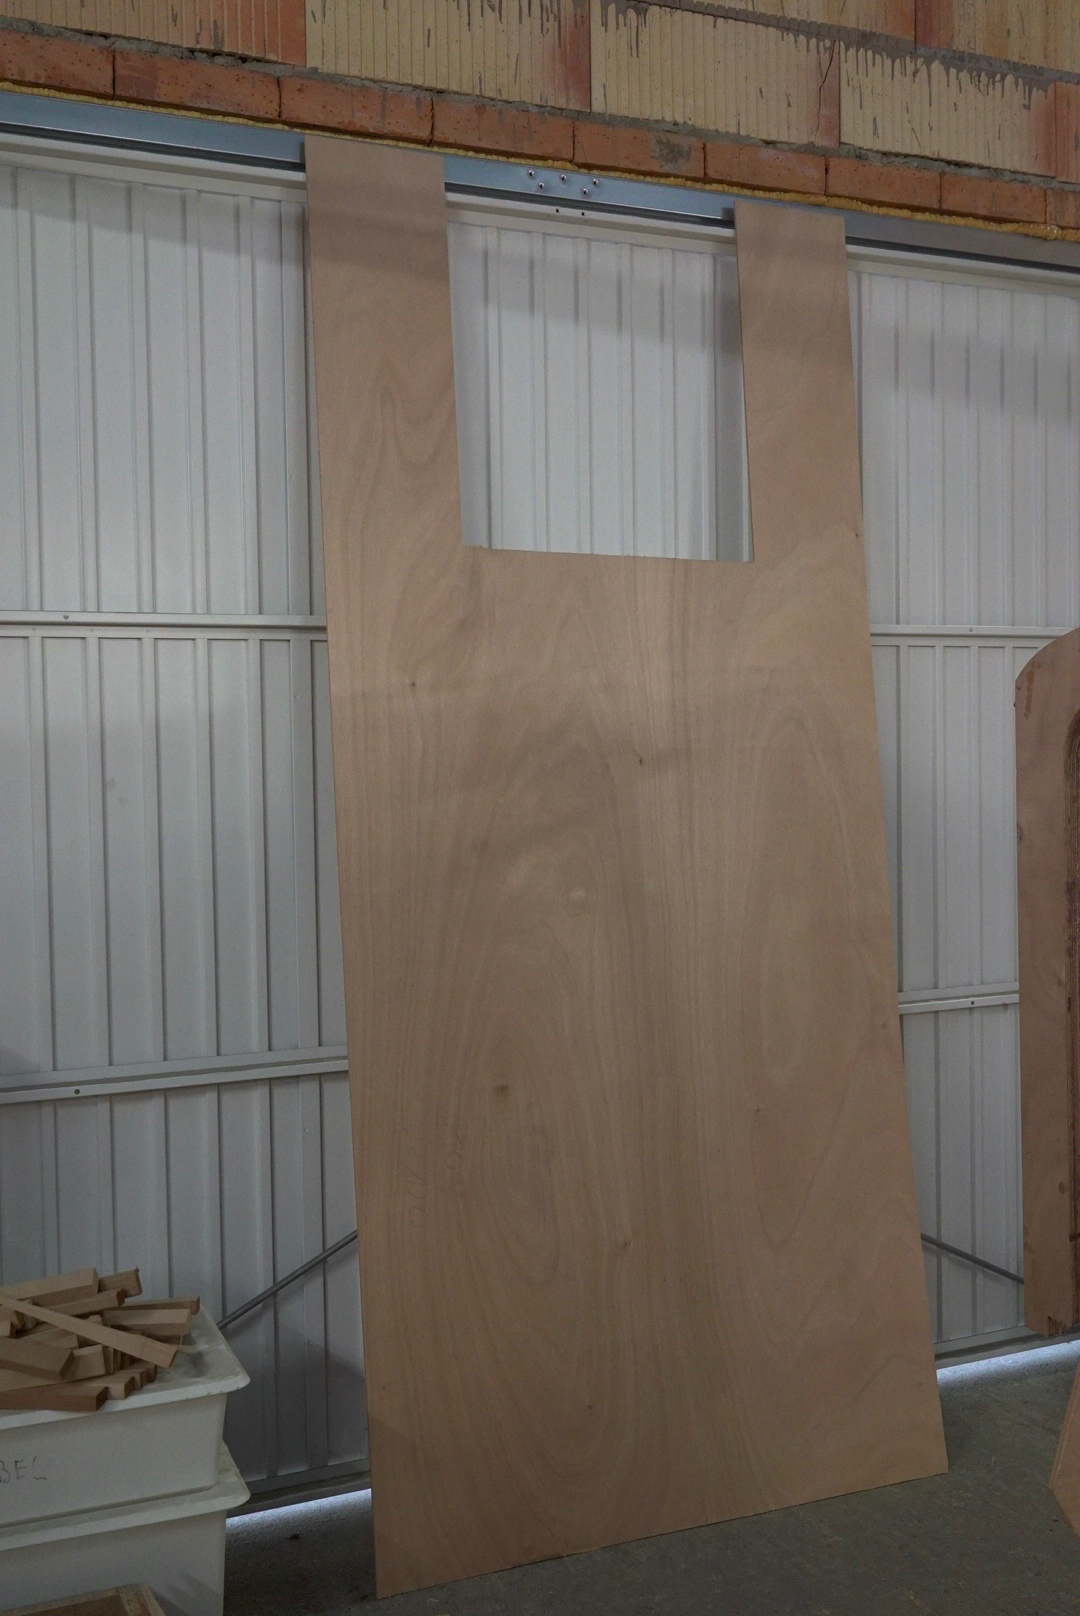 cockpit sole
 cockpit sole 2
 cabin back side
 cockpit floor
